
How to Make an Explosion Box for Any Occasion
Follow our detailed guide, featuring step-by-step instructions and printable templates, to create your own explosion box.
Sep 17, 2018
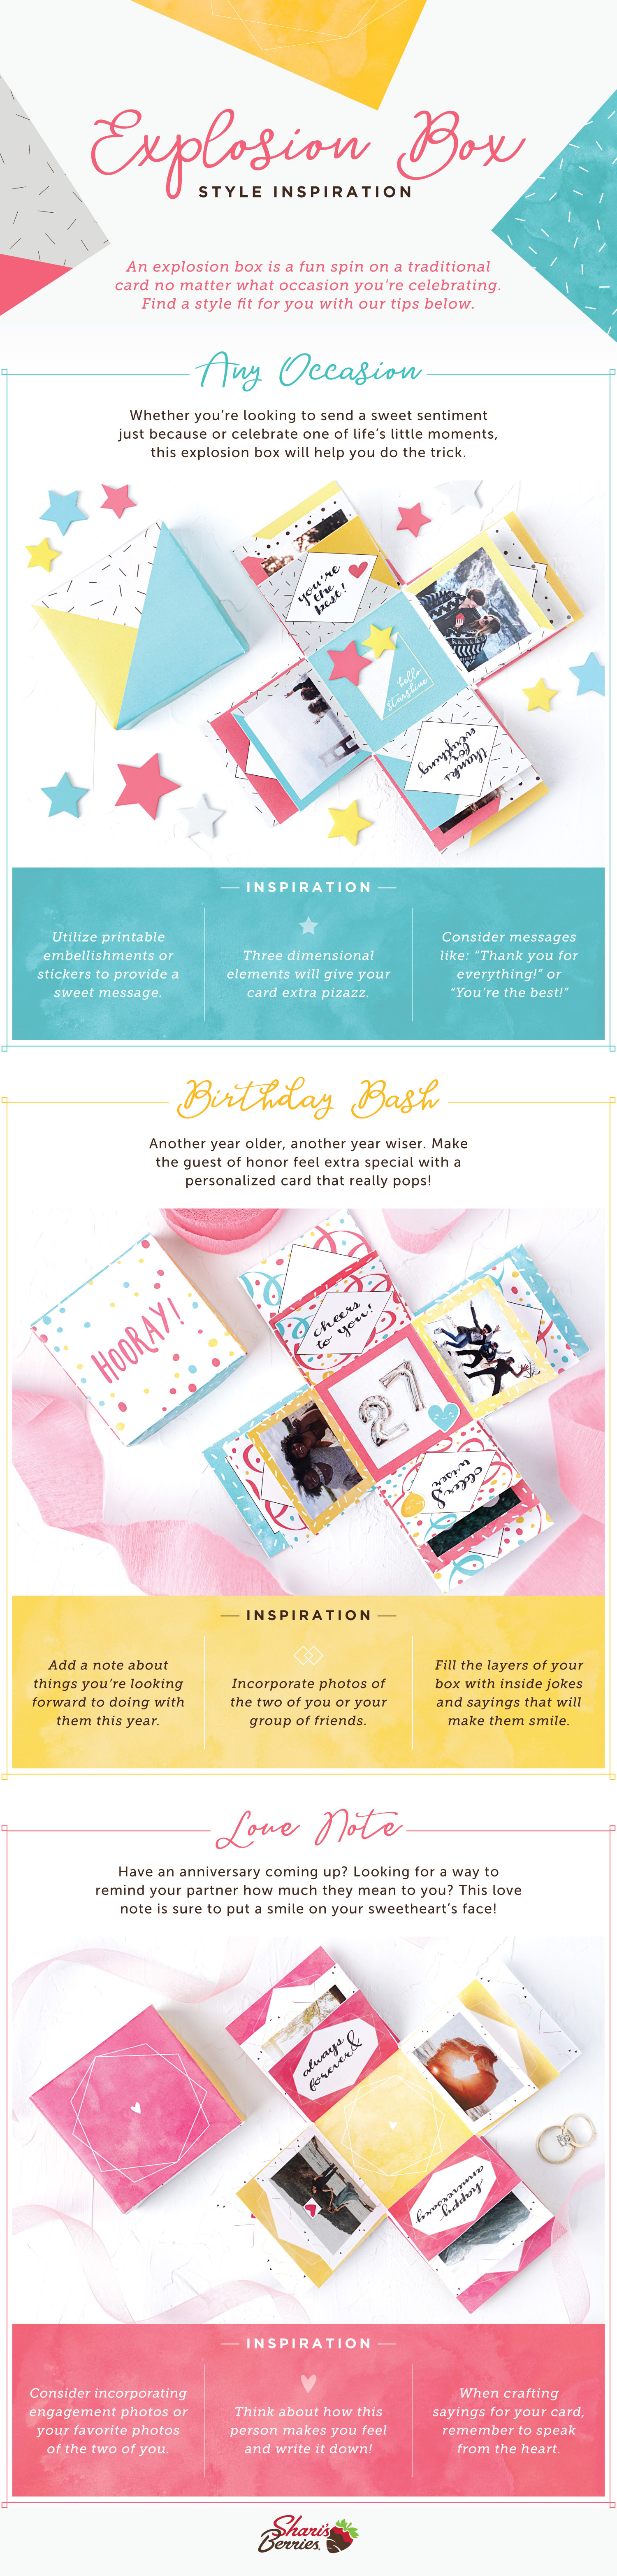
If you’re interested in taking your next greeting card over the top, an explosion box is a hidden gem you didn’t know you were missing out on. You might be thinking to yourself, “what’s an explosion box anyways?” Well you’re in the right place, we’re answering that question and a whole lot more with our tutorial for how to make an explosion box.
Even if you’ve made an explosion box before, we have you covered too. With printable templates for any occasion, our designs and fun style additions are the perfect way to tell someone you love them, you’re thinking of them or you can’t wait to meet their new little bundle of joy. Not to mention, an explosion box makes for the perfect pairing with chocolate dipped desserts.
What’s an Explosion Box?
An explosion box is essentially a greeting card in a box. As the image above shows, when you remove the “lid” of the box, the card opens up to reveal personalized messages and other decorated elements crafted by you. The best part of this DIY is that it’s pretty simple to put together and since it’s handcrafted it’ll serve as a special gesture from you.
Don’t let the impressive finished product discourage you from creating your own. This DIY project is easier than it looks and doesn’t require a never ending list of supplies. Before you get started, check out the full list of materials you’ll need to create your own DIY explosion box.
Explosion Box Materials
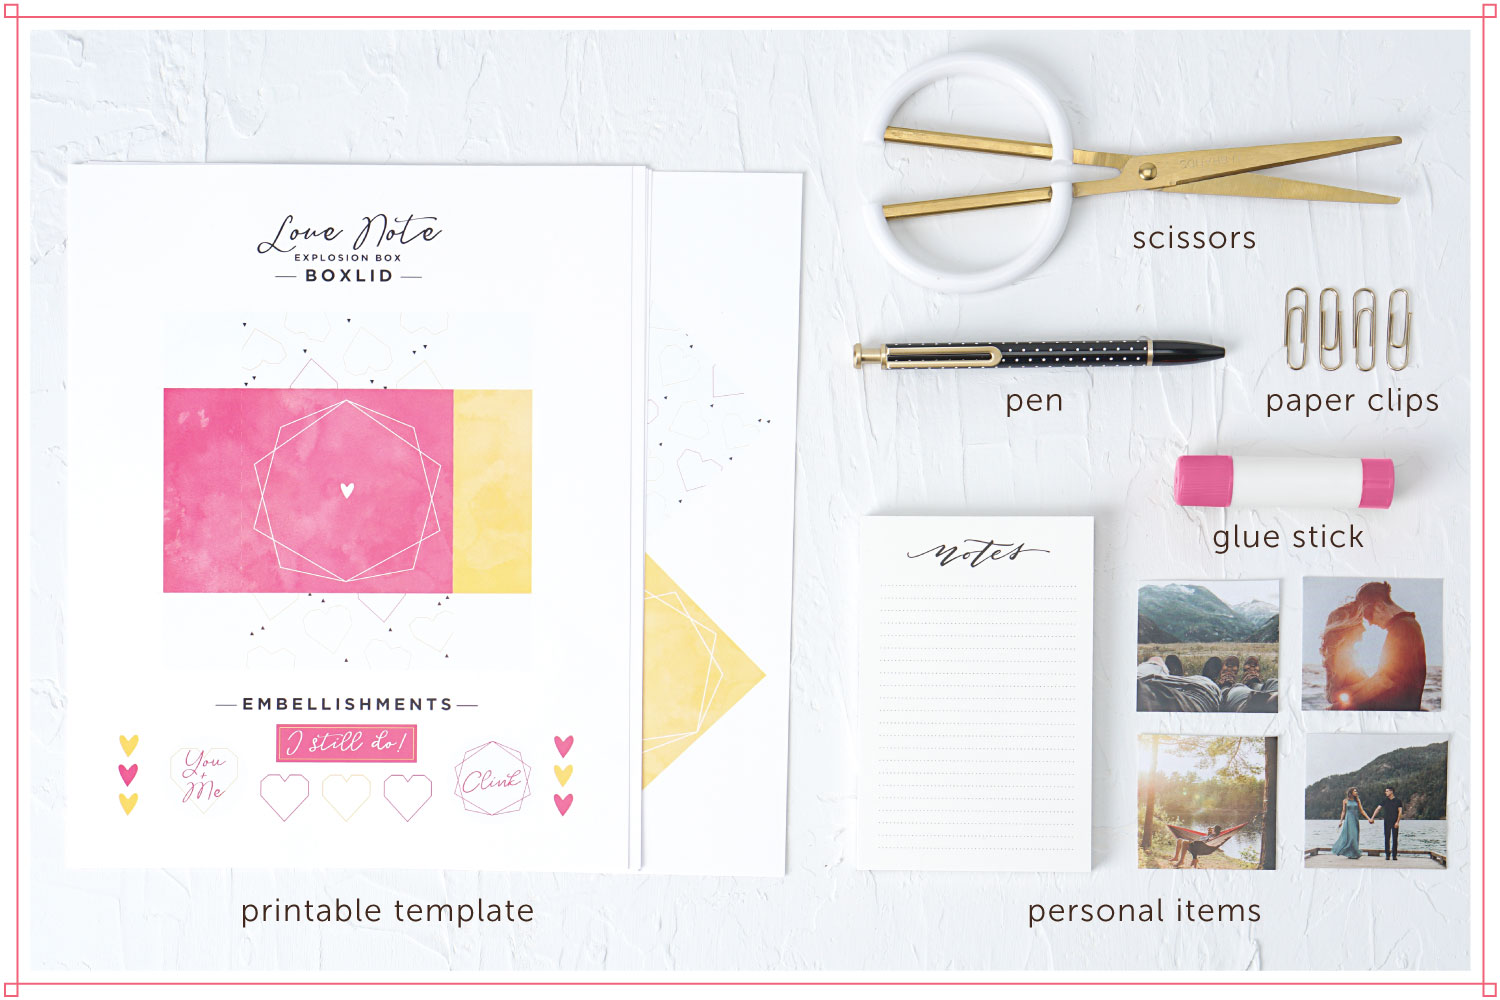
- Printable Template— This item is easy to come by and you have options! We’re providing three different styles of printable templates for you to choose from that you can download below. All you’ll need to do is select the theme that’s fit for the occasion you’re celebrating, download the template and print it out.
- Scissors— You’ll need scissors to cut your templates.
- Glue— You’ll also need glue to adhere the layers of your explosion box. Either a glue stick or liquid will work just fine.
- Paper clips— You’ll use paper clips to help assemble the box while your adhesive dries.
- Small Personal Items — Small personal items like photographs, stickers or other personal mementos that you can place inside of the explosion box will help make your box unique for any recipient.
Before getting started on an explosion box of your own, you’ll want to consider the theme or occasion you’re creating the box card for. We’ve put together printable templates for a variety of celebrations.
With a birthday option, a love note option and a universal option, you can make a DIY explosion box for anyone and everyone. In addition, each template comes with printable additions you can use to decorate your box.
Scroll through the steps below to learn how to create your own and download the printable templates at the bottom of the post. Let’s get started.
How to Make an Explosion Box Step-by-Step
Project Time: 20 mins

Step 1: Print out your template of choice and cut where necessary.
Once you’ve selected a template theme that’s appropriate for your greeting card. You’ll just download the template of choice, print it out and cut the layers where necessary. Your template will include four different layers, a lid and additional design elements for decorating. We recommend printing the templates on 60lb cardstock. Any paper will do, just note that the thicker the cardstock the sturdier your explosion box will be.
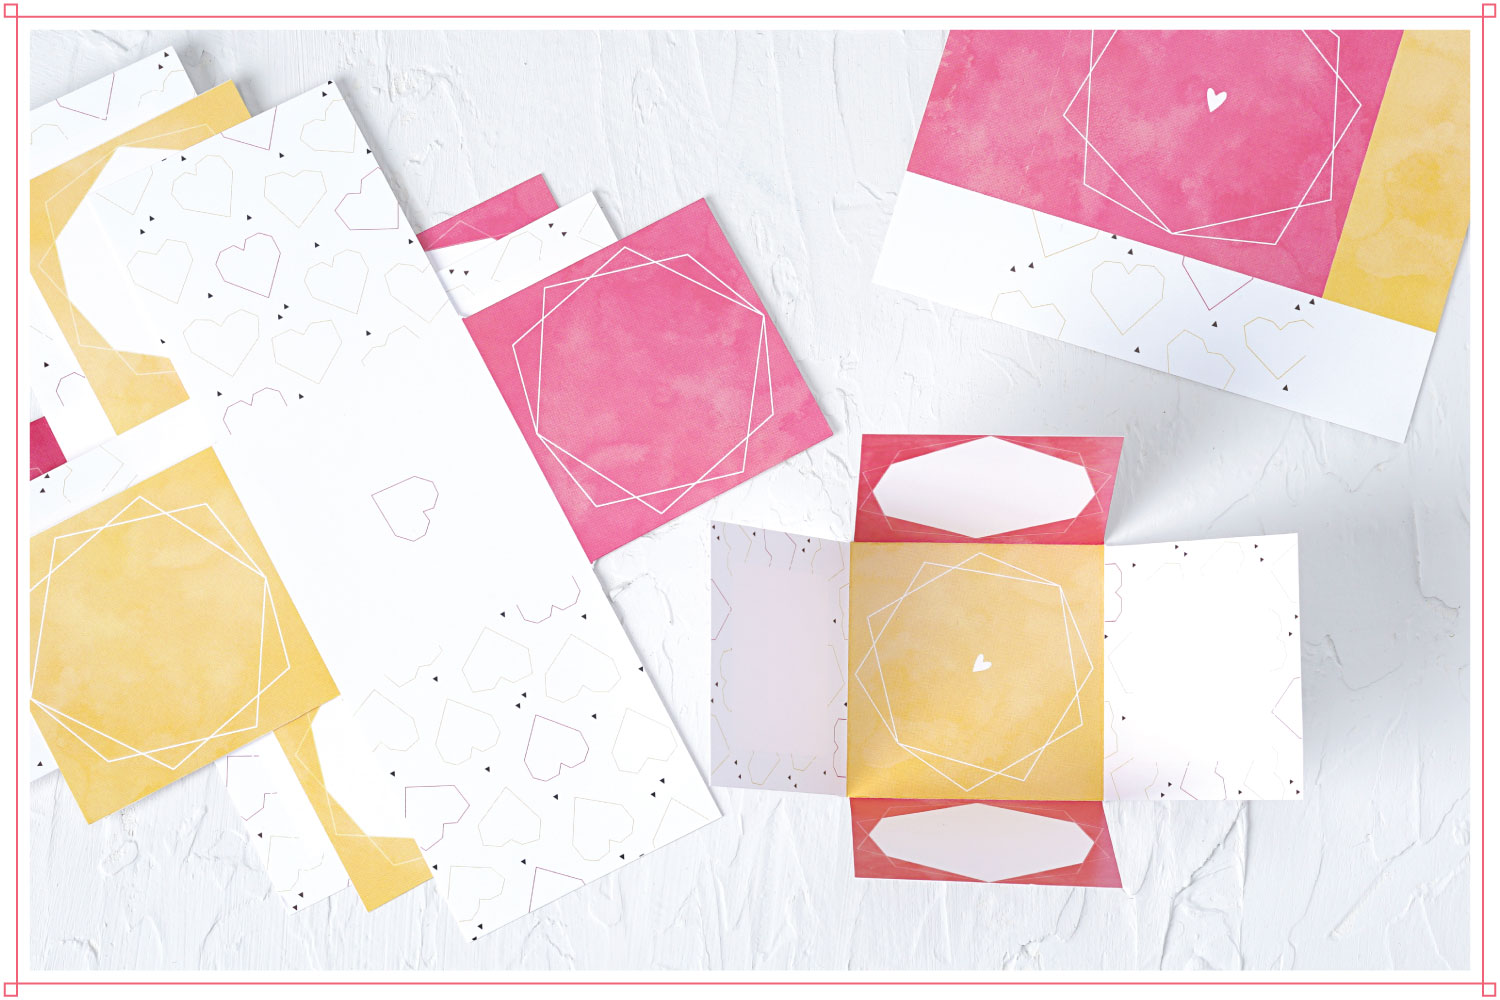
Step 2: Fold your explosion box.
Carefully fold the square edges of each layer. You can use a ruler to help you create folds if you’d like to, this will help ensure everything stays straight.
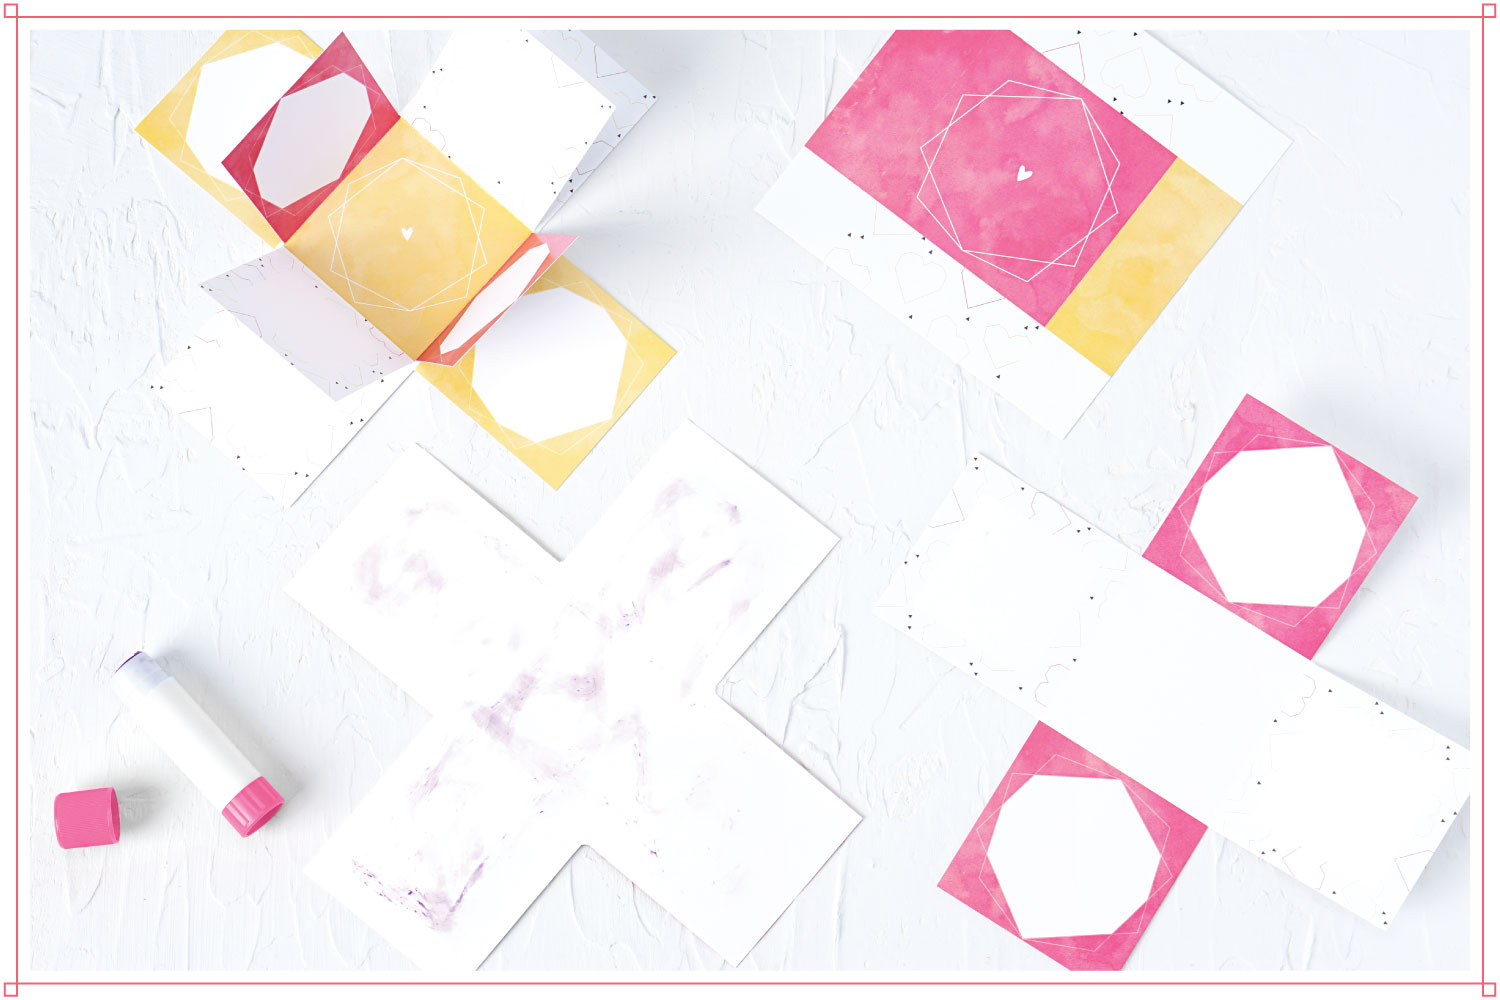
Step 3: Glue the layers together.
Now it’s time to put the pieces together. Adding the layers will give you more room to write down your well wishes and notes for your recipient. Add adhesive to the backside of each center square to attach each layer to one another. Allow time for the adhesive to dry.
When you get to the outer layer of your explosion box, you’ll want to add adhesive to the backside of each square of the outer layer. This will allow the outside of your explosion box to be bright and colorful.
Step 4: Assemble the lid.
The lid will allow you to close your box. Fold along the dashed lines, where the different colors and patterns meet, to create your lid.
Next, you’ll add adhesive to the square corners and fold them into the inside of the lid “pitching” the paper together to create the fold. Add paper clips to keep the squares in place until the adhesive dries.

Step 5: Put it all together and personalize.
Personalize each of the layers of your box with a note or two for the recipient and decorate how you’d like to. You can add photos to your explosion box by cutting them out or sizing them at 2” x 2” to fit.
Once you’ve finalized the finishing touches on the inside, fold all of the layers together and add your lid to the top. When the lid is removed it should explode outwards, hence the name.
Explosion Box Decorating Tips and Tricks
Now that you have the steps and inspiration you need to create your own explosion box, it's time to download the template of your choice and get started. Use the button below to print an explosion box template and start crafting.
Print them now, save them for later or pin them for a project down the road!


