
How to Make a Vision Board for the New Year
Learn how to make a vision board that will inspire you to achieve your dreams throughout the year ahead.
Dec 12, 2017
What is a vision board?
In short, a vision board is a collage of images and affirmations that represent your dreams in a beautiful way. It is meant to inspire you to define what you want most and then serve as a reminder to chase those dreams throughout the year. Many people use a poster board to create and visualize their goals, pasting photos they find from magazines. However, you can also use a notebook, corkboard or even create a digital version.
You can make a vision board at any time, such as when you are experiencing a big change, entering a new phase of your life or trying to make a decision. We love the idea of making it an annual New Year’s tradition so that you can start the year with renewed focus and a fresh outlook!
How do you make a vision board?

The whole idea of a making a vision board is to let your creativity run wild, but there are a few materials you will need to gather first:
- Poster board in any size
- Scissors
- Glue
- Several magazines
- Your favorite journal
- Pens or crayons in different colors
- Stickers, pins, glitter, washi tape, feathers or any other objects that inspire you and make you happy!
The photos and items you use are meant to spark your creativity and reflect your personal style, so feel free to swap out supplies if you find an option that looks more attractive to you. For example, instead of traditional poster board, you can opt for a cork board, chalk board, plywood or even an open wall in your home office.
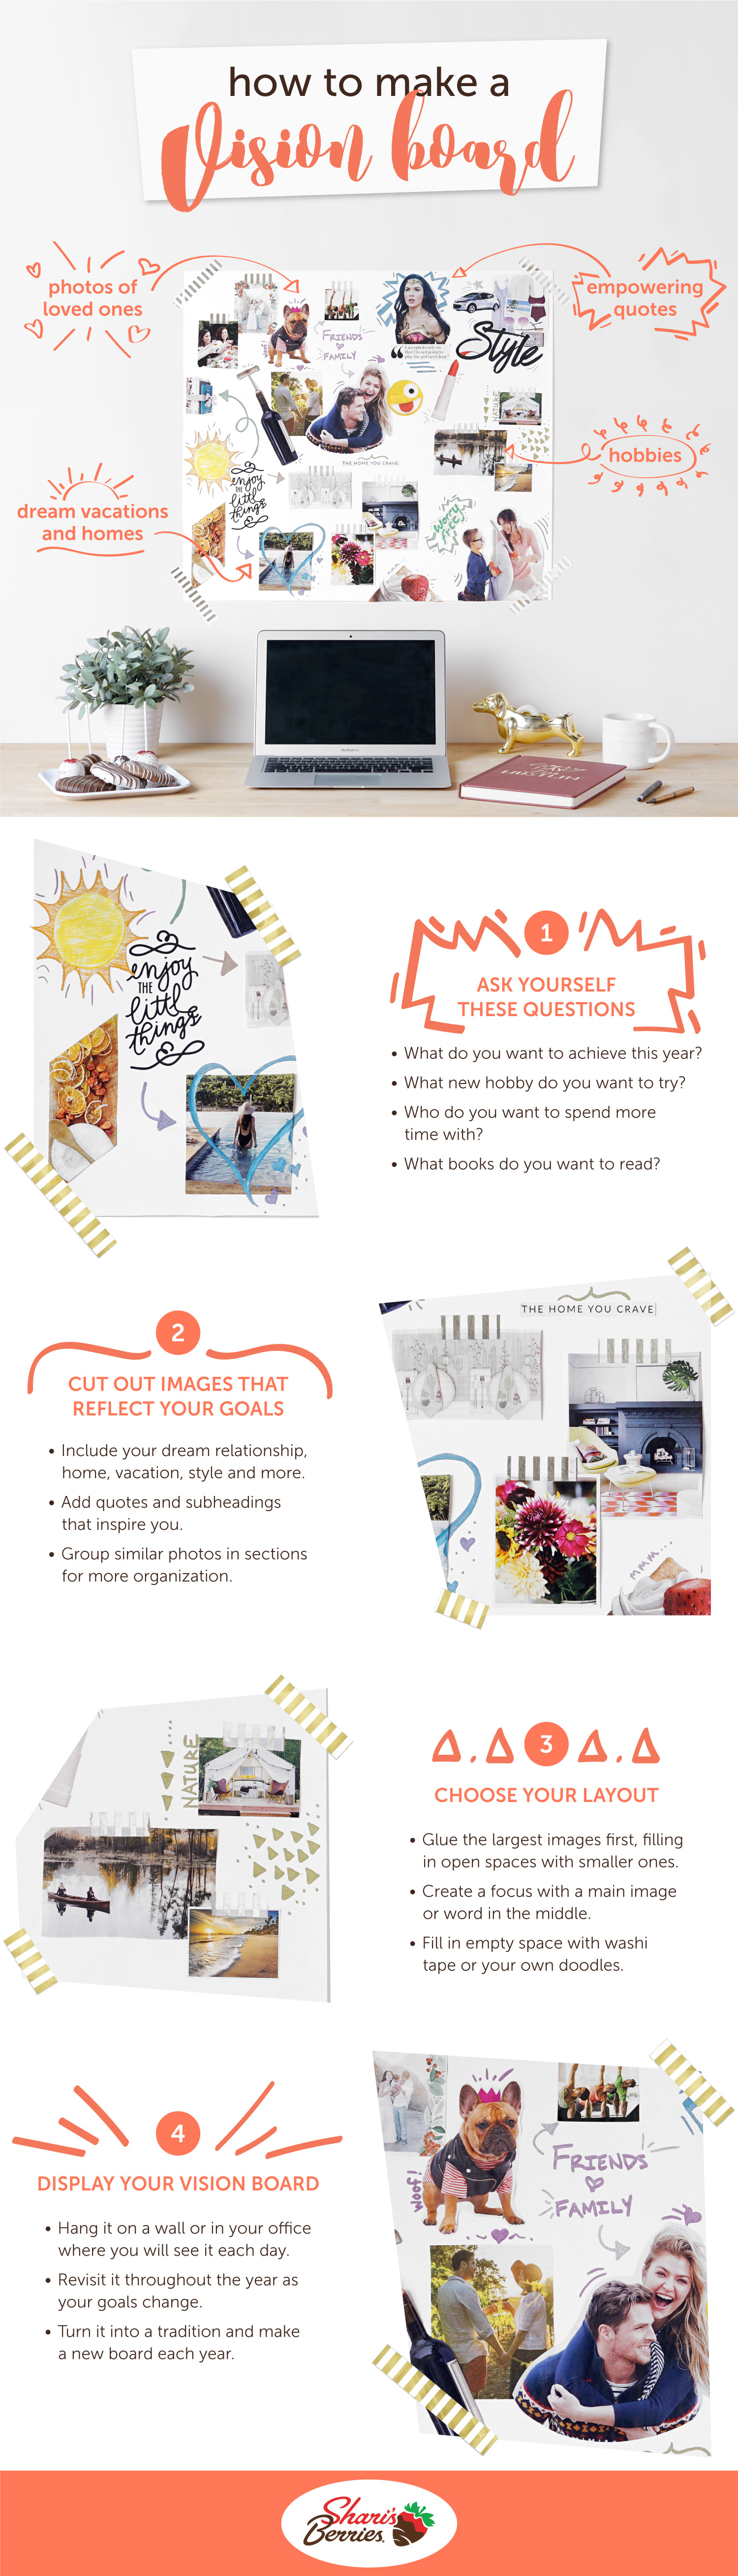
Step 1: relax and reflect on your goals for the year ahead
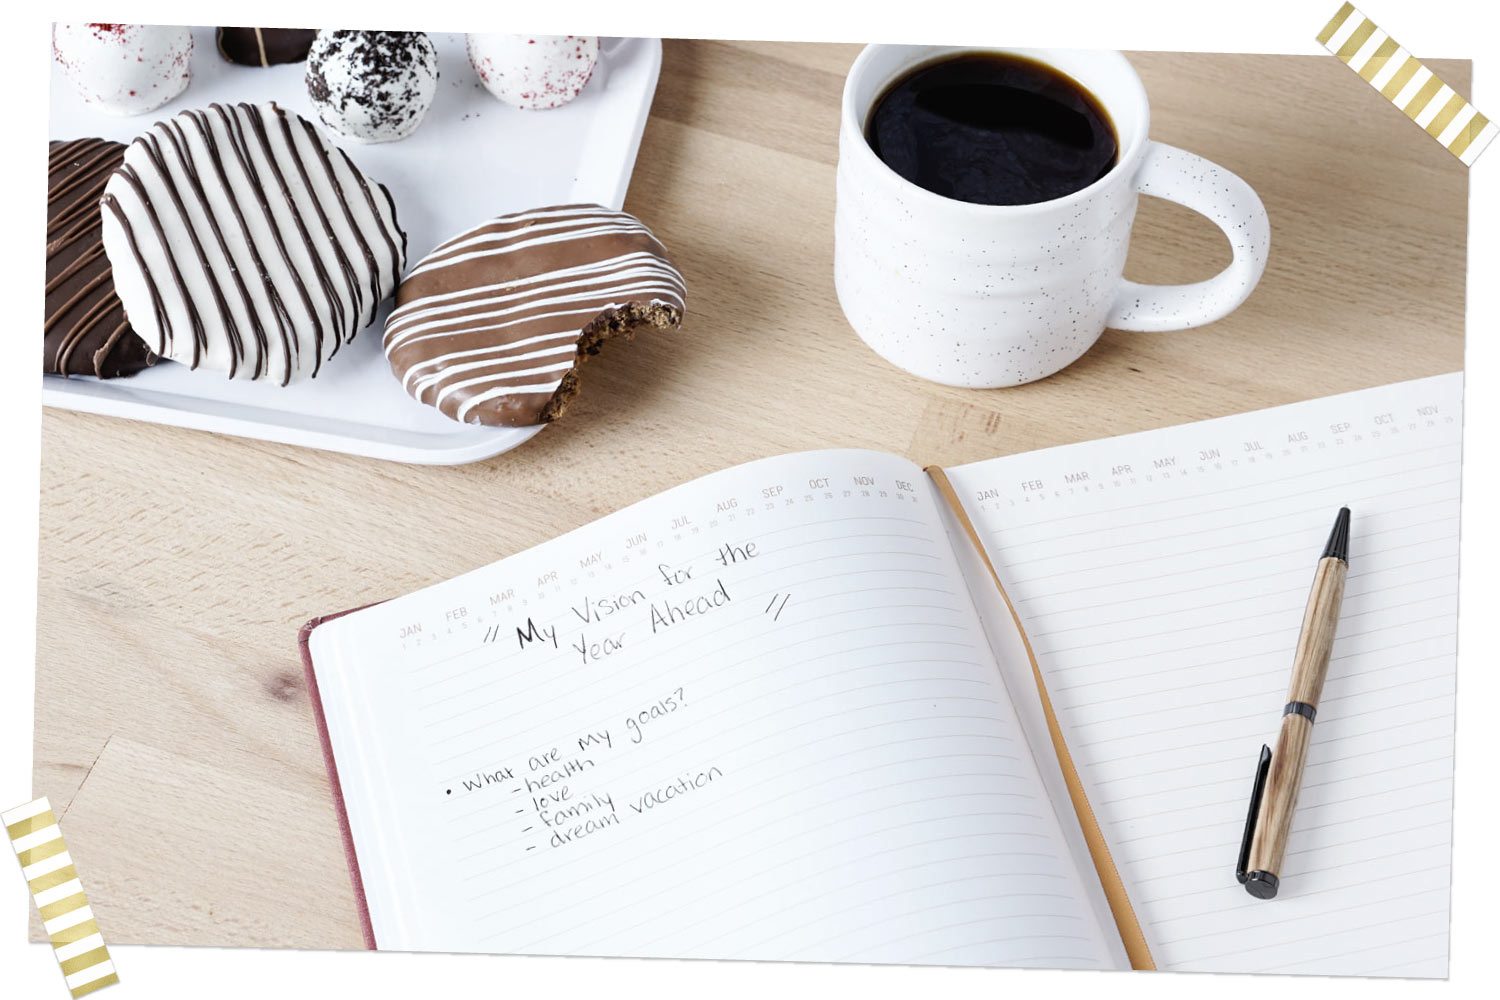
Whether you have opted to have friends over for a vision board party or are setting aside a relaxing evening for yourself, begin by taking a few minutes to journal and write down some ideas first.
Grab a warm beverage like tea or cocoa, set out some baked sweets, light a candle, turn off all distractions and turn on ambient music that will allow you to relax. Then, spend 5-10 minutes writing down things that you would like to achieve.
These can be silly, serious or a mix of the two, but the goal is to think about what you would like your life to look like one year from now. Do you want to buy your dream home? Get a puppy? Finally take that salsa class or just spend more time with the kids?
Write it all down!
Step 2: cut out images that make you smile
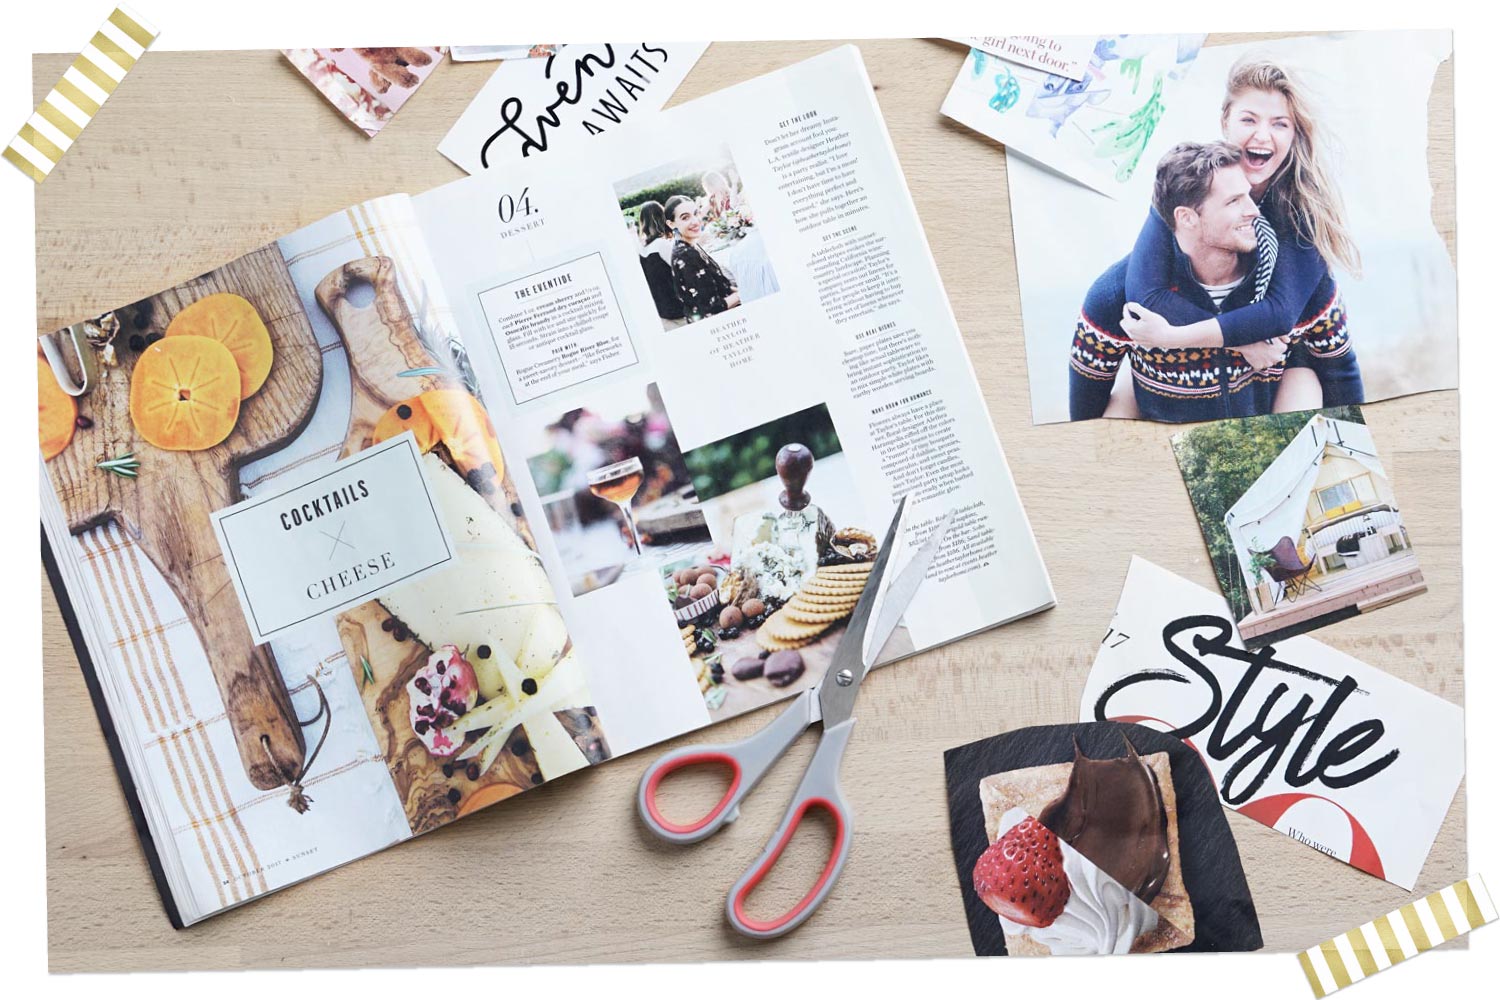
After you have spent a few minutes journaling, it’s time to select the items that will go on your vision board. We like to have a mix of magazines and craft supplies on hand so that we can find photos and words that stand out, match one of our goals or just make us smile.
Cut out and gather photos that capture every area of your life, such as your relationships, family, hobbies, home, dream vacation and even your style. Be sure to include photos of the top goals you identified for this year.
Tip: If you are with friends, don’t be afraid to say what images you are looking for to make the experience more interactive and fun. They may come across them while flipping through the pages!
Step 3: decide on your vision board layout
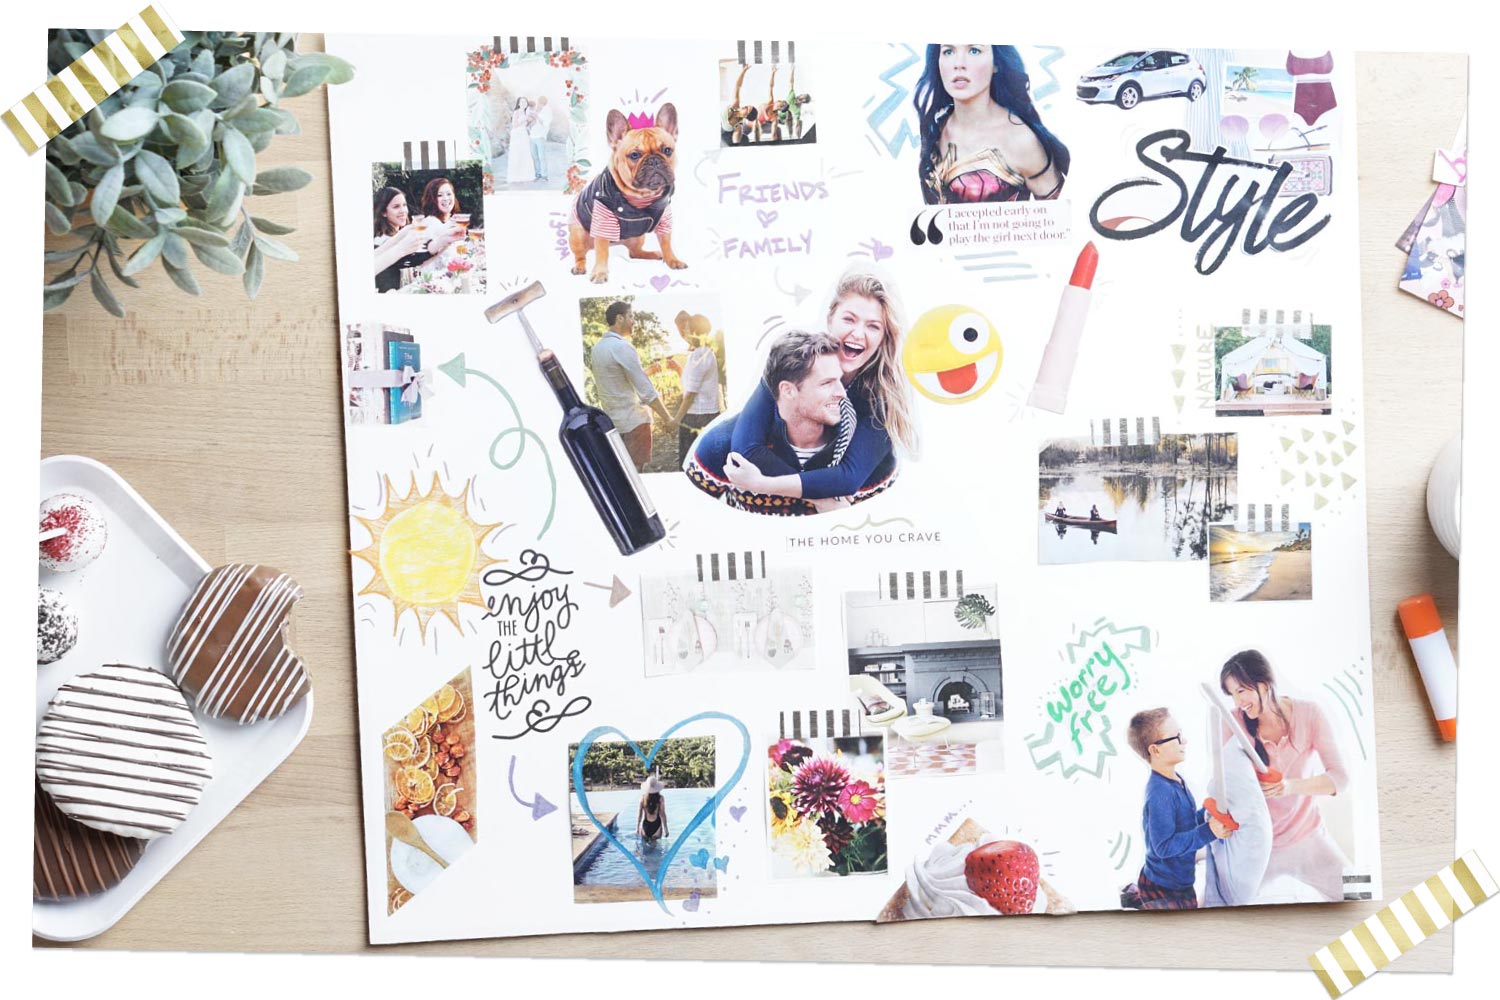
Once you have your stack of photos, it’s time to start putting them on your vision board. When it comes to planning your layout, you can set all your photos on the board before gluing them in place (like we did here) or attach photos as you go, following your intuition.
Here are some tips for getting started:
- Place the largest images first. Then fill in open spaces with smaller ones to create visual balance and design interest with your board.
- Include a photo of yourself. Or use photos of happy people who are meant to symbolize you, your family, your significant other or just yourself when you were really happy.
- Keep a main focus by making one word or phrase more predominant than others. You can let this guide the overall feeling and theme of your board so that it helps you keep everything cohesive. You can also create sections with smaller words, like we did here with nature, our dream home and personal style.
- Add quotes and affirmations that inspire you. Whether it's a favorite quote or one you saw while flipping through magazines, if you find something that resonates with you, include it!
- Fill in details with washi tape or your own doodles. Adding a personal touch and some stylistic flare will make your vision board feel more like you. Don't be afraid to mix and match media types - glitter pens, gems, feathers and stickers are all welcome here!
Step 4: put your vision board where you will see it every day

After you’re finished putting everything on the poster board, let it dry overnight and put it in a place that you will see each day. We chose to hang it in a home office next to other inspiring artwork.
The more likely you are to see your vision board and all your dreams, the more likely you are to remember them and work toward them each day!
Tips and tricks for a vision board you'll love
Now that you know the overall strategy for making a board, use these writing prompts, tips and tricks to inspire your own personal creation.
As the year progresses, revisit the things you put on your board and the goals you wrote down in your journal. Recreate the process we shared above with your favorite journal, sweet snacks and a relaxing candle. Take note of the goals you achieved, those that have evolved and even those that you no longer want. Hey, we know plans can change!
No matter how you decide to make a vision board or where to put it, just let your creativity take control and enjoy the activity. Who knows, maybe you’ll even start a New Year’s tradition with friends for years to come.


