
How to Make a Strawberry Rose in 6 Steps
Watch and learn. Our latest DIY is so easy it only takes 6 quick steps.
Sep 03, 2014
When picking strawberries for your strawberry rose craft, be sure to pick the largest ones you can find. The bigger the strawberries are at the base, the easier they will be to cut and the better they will look in the end. It’s also best to find ones that are firm and ripe as they hold better when creating the petals.
Before beginning this project, be sure to thoroughly rinse off your strawberries and wait for them to dry. This is a good practice for all fruits and vegetables, as it helps ensure that there is no dirt or bacteria on your food.
Once you’ve mastered the simple steps below, consider creating a bouquet of strawberry roses or dipping a few in chocolate for added deliciousness.
Below are six simple steps to create the perfect strawberry rose.
Materials
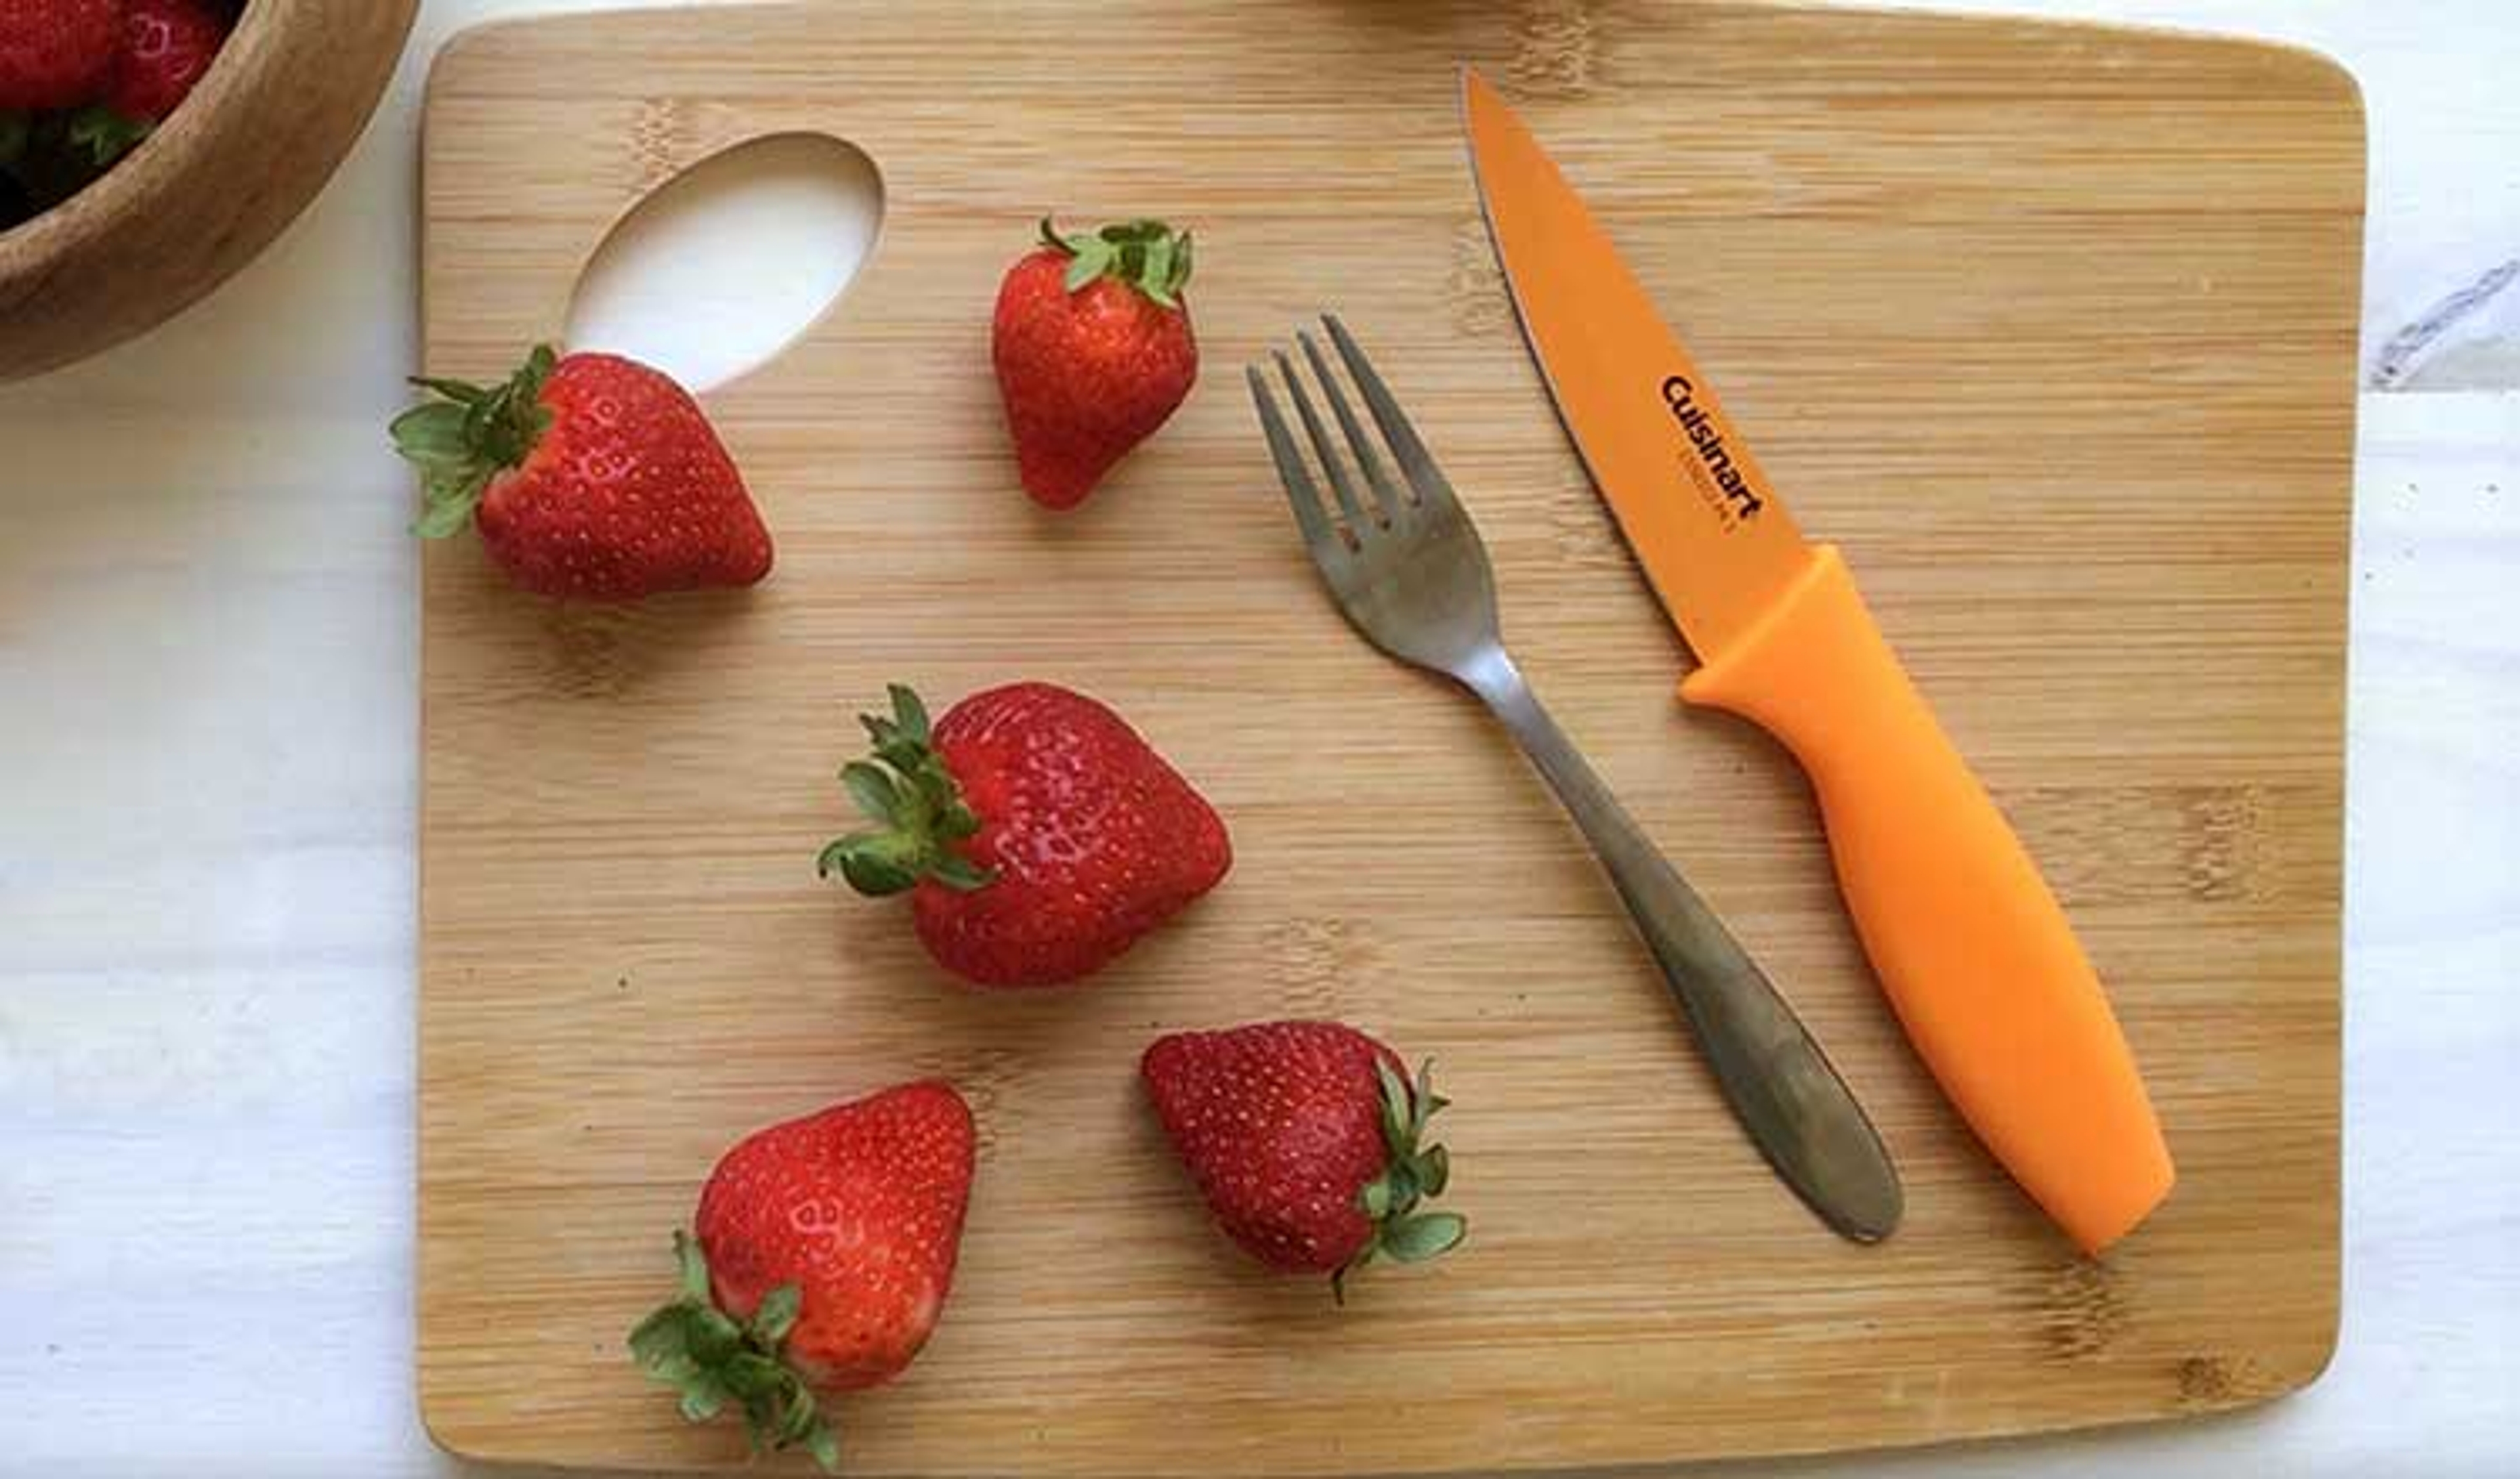
- Strawberries: Ripe berries with larger bases are best for this project. Don’t forget to rinse and dry them first.
- Paring Knife: A thin-bladed knife used to core and peel fruits. Paring knives are smaller and more mobile, perfect for making detailed cuts like the ones needed for this DIY project.
- Cutting Board: We recommend wood cutting boards as they are the most durable and the best for keeping knives sharp.
- Fork: A sturdy metal fork is best.
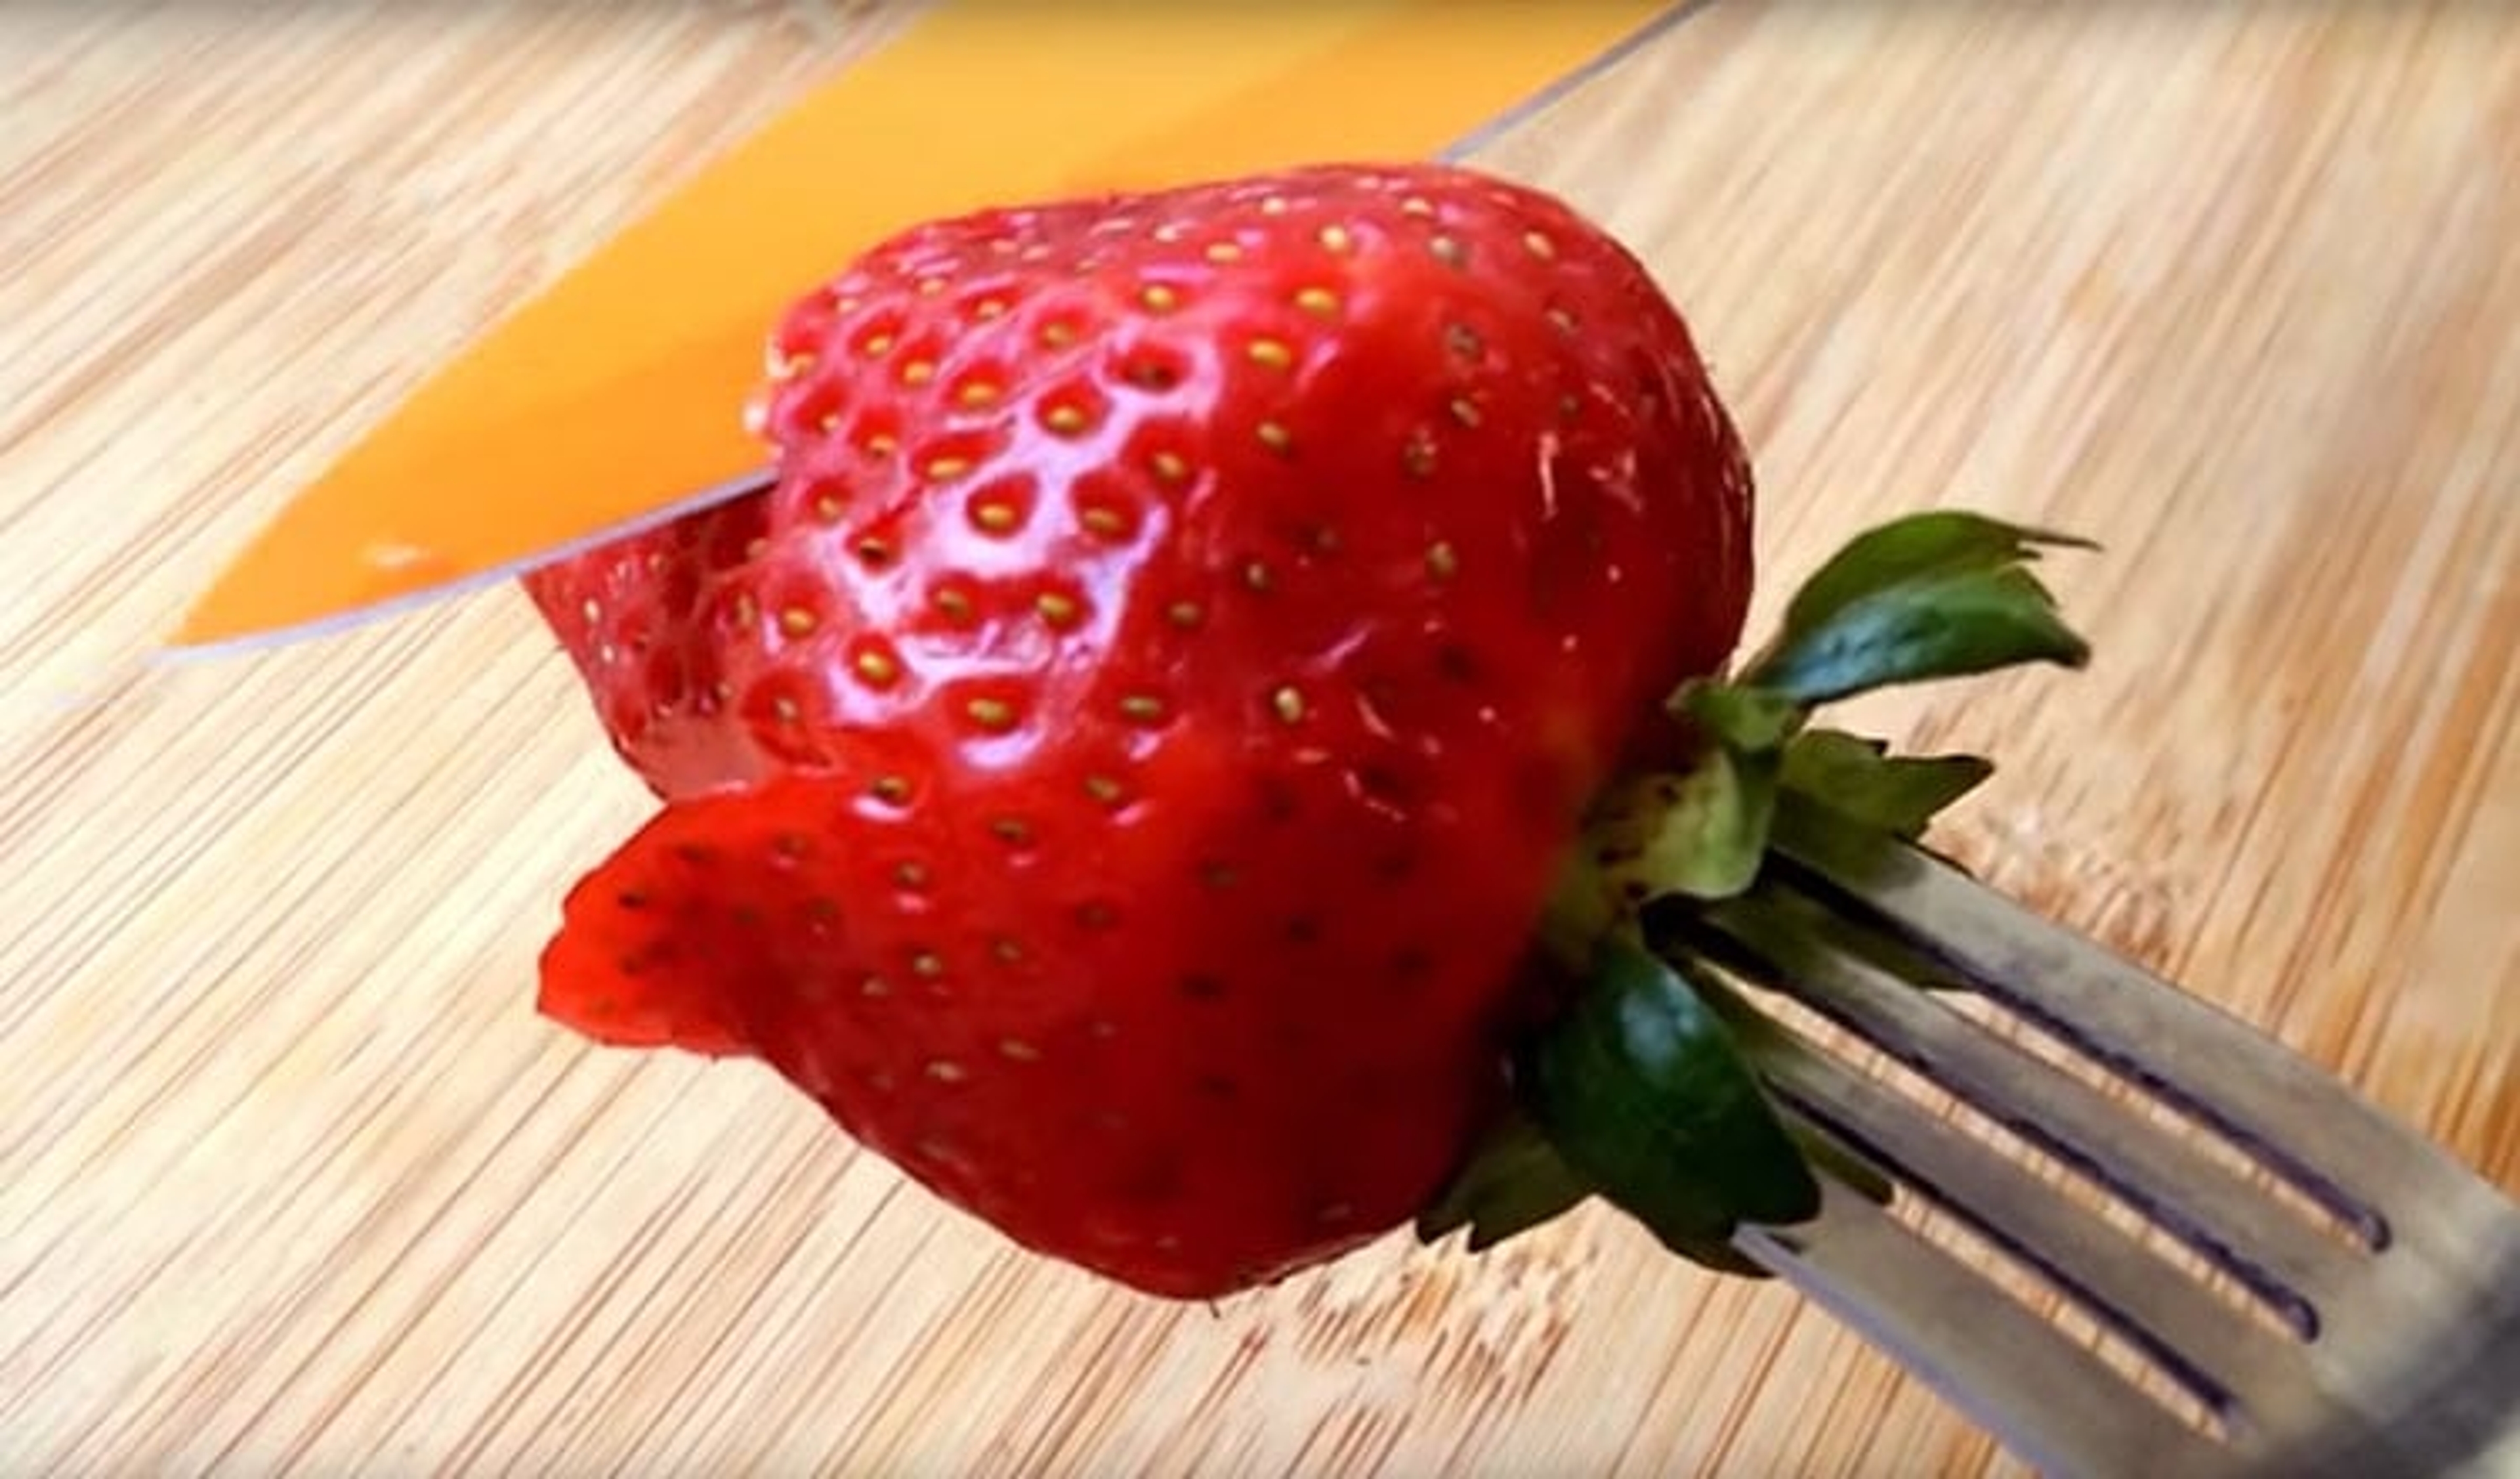
Step 1: Place a strawberry on the fork.
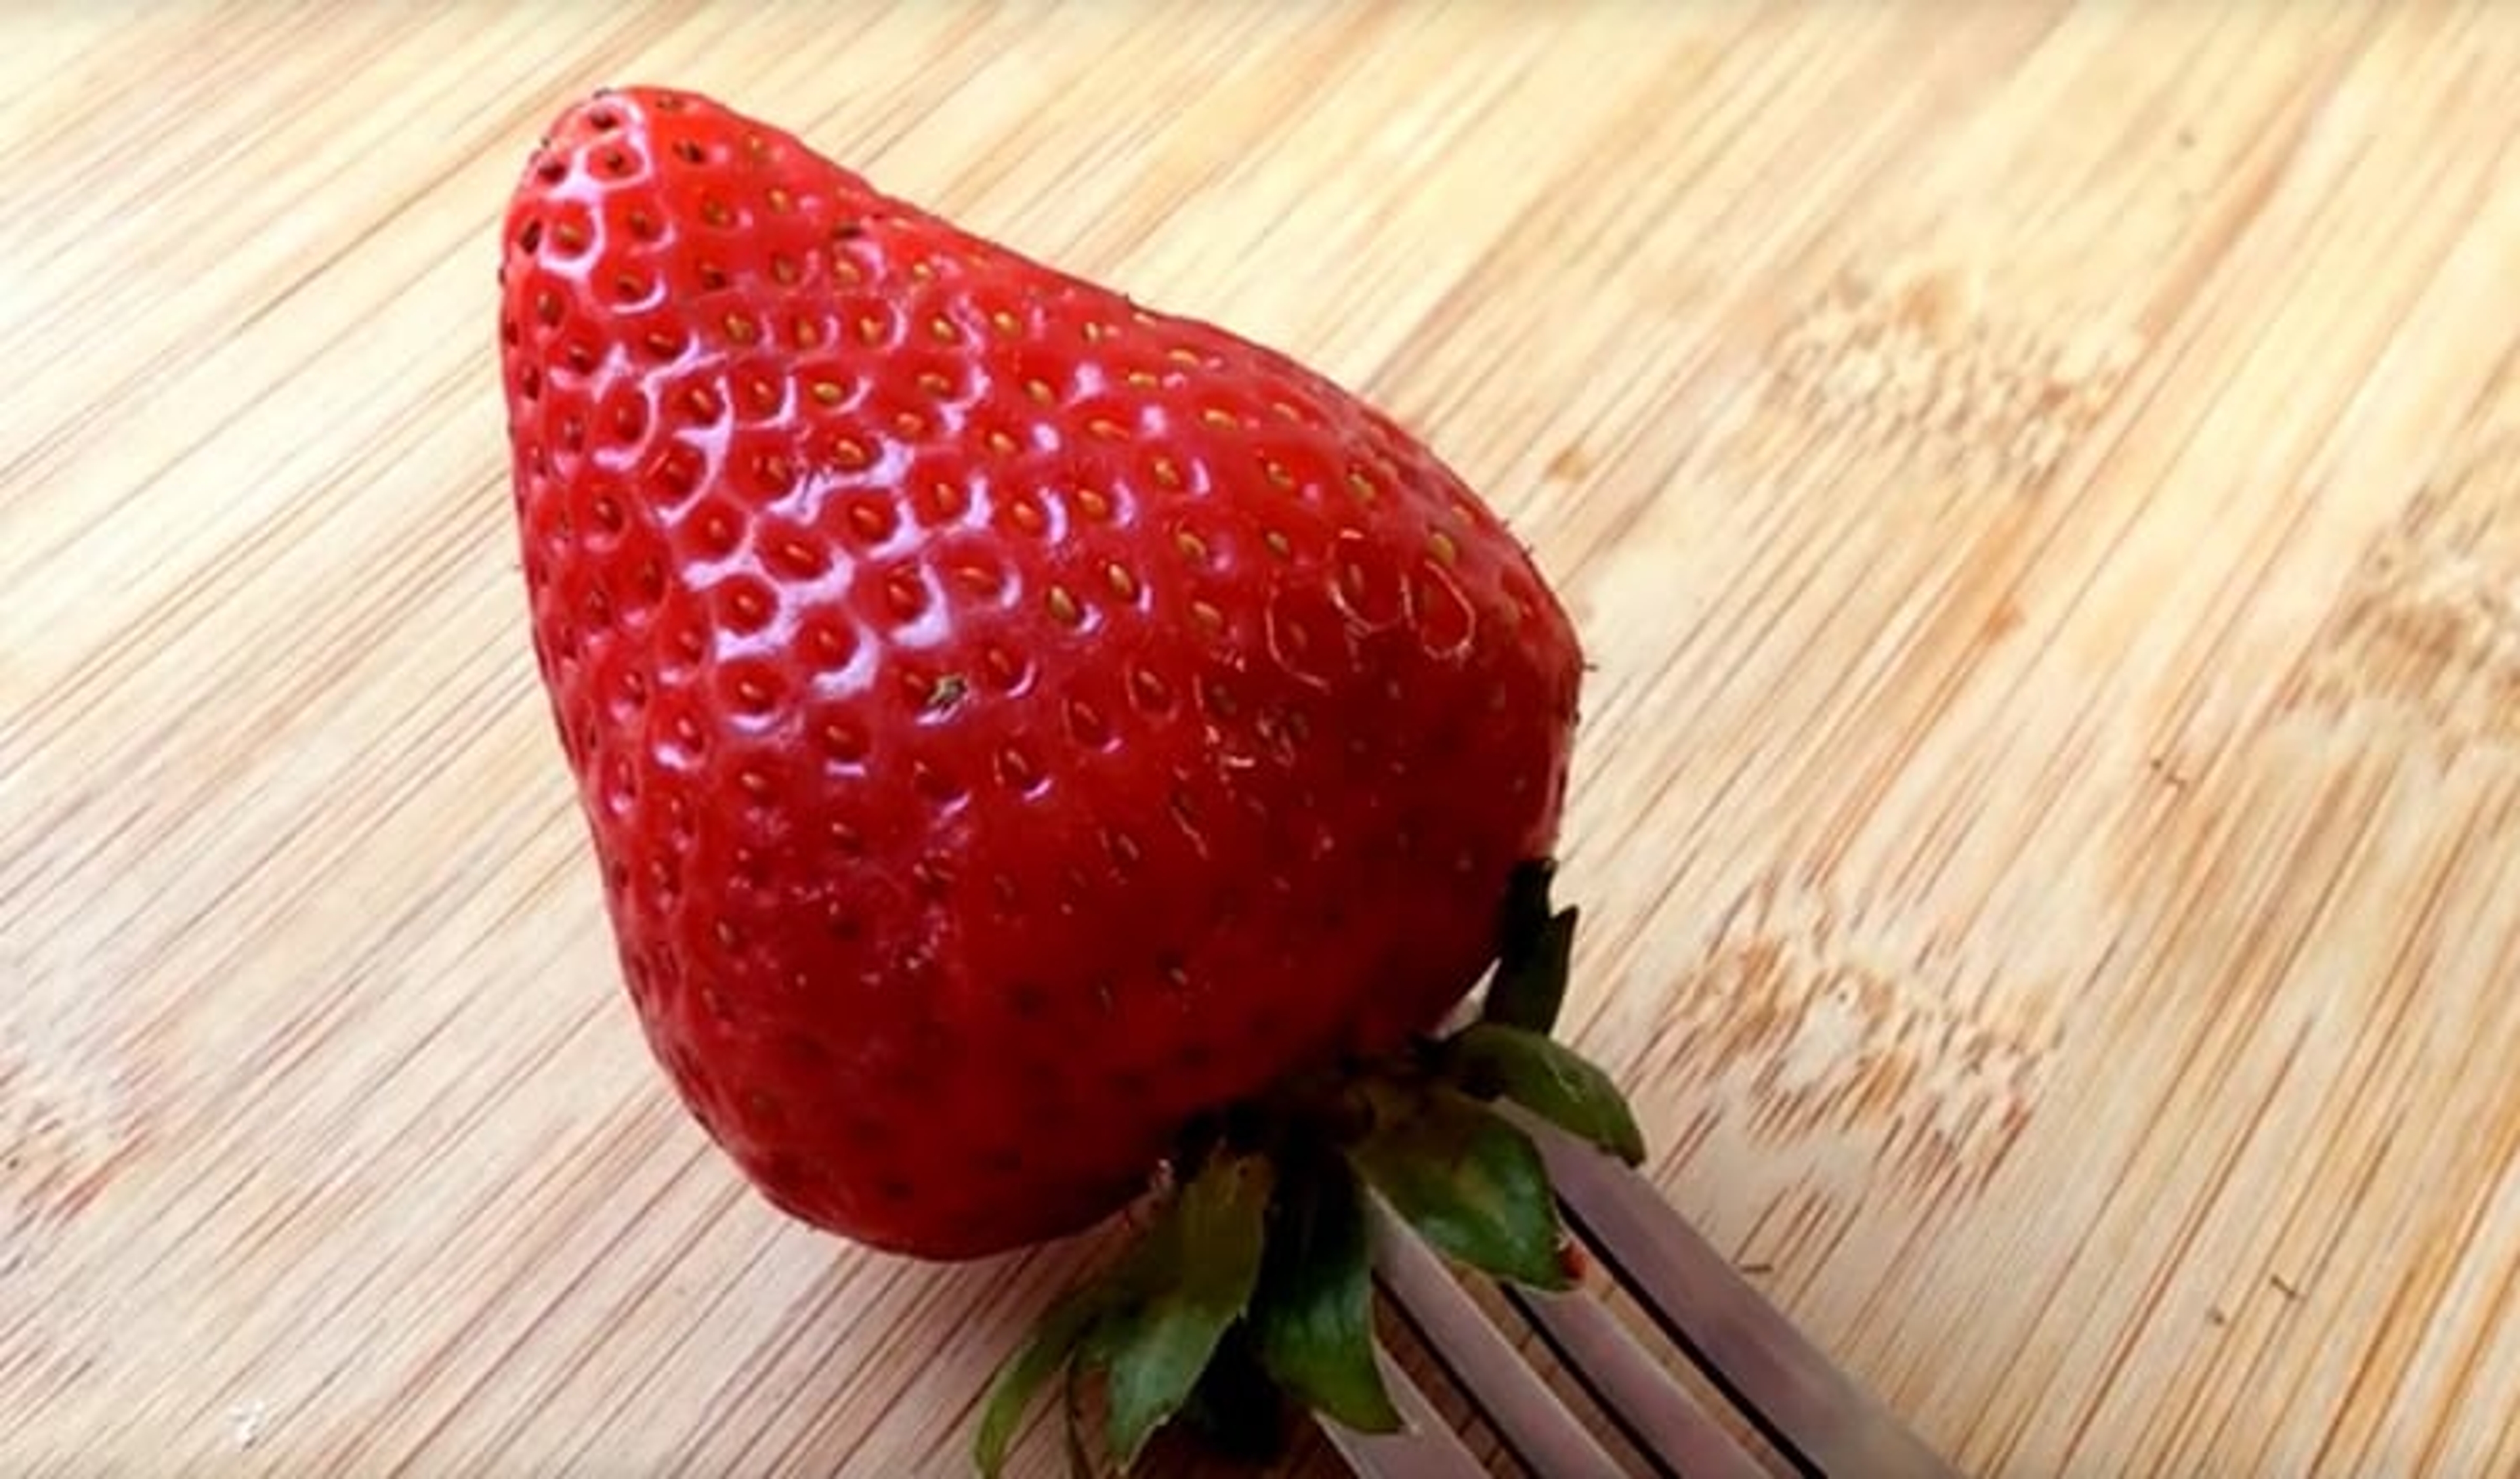
Push the fork into the base of the strawberry with the tip of the strawberry pointing outward. Slightly bent strawberries are best for the desired effect.
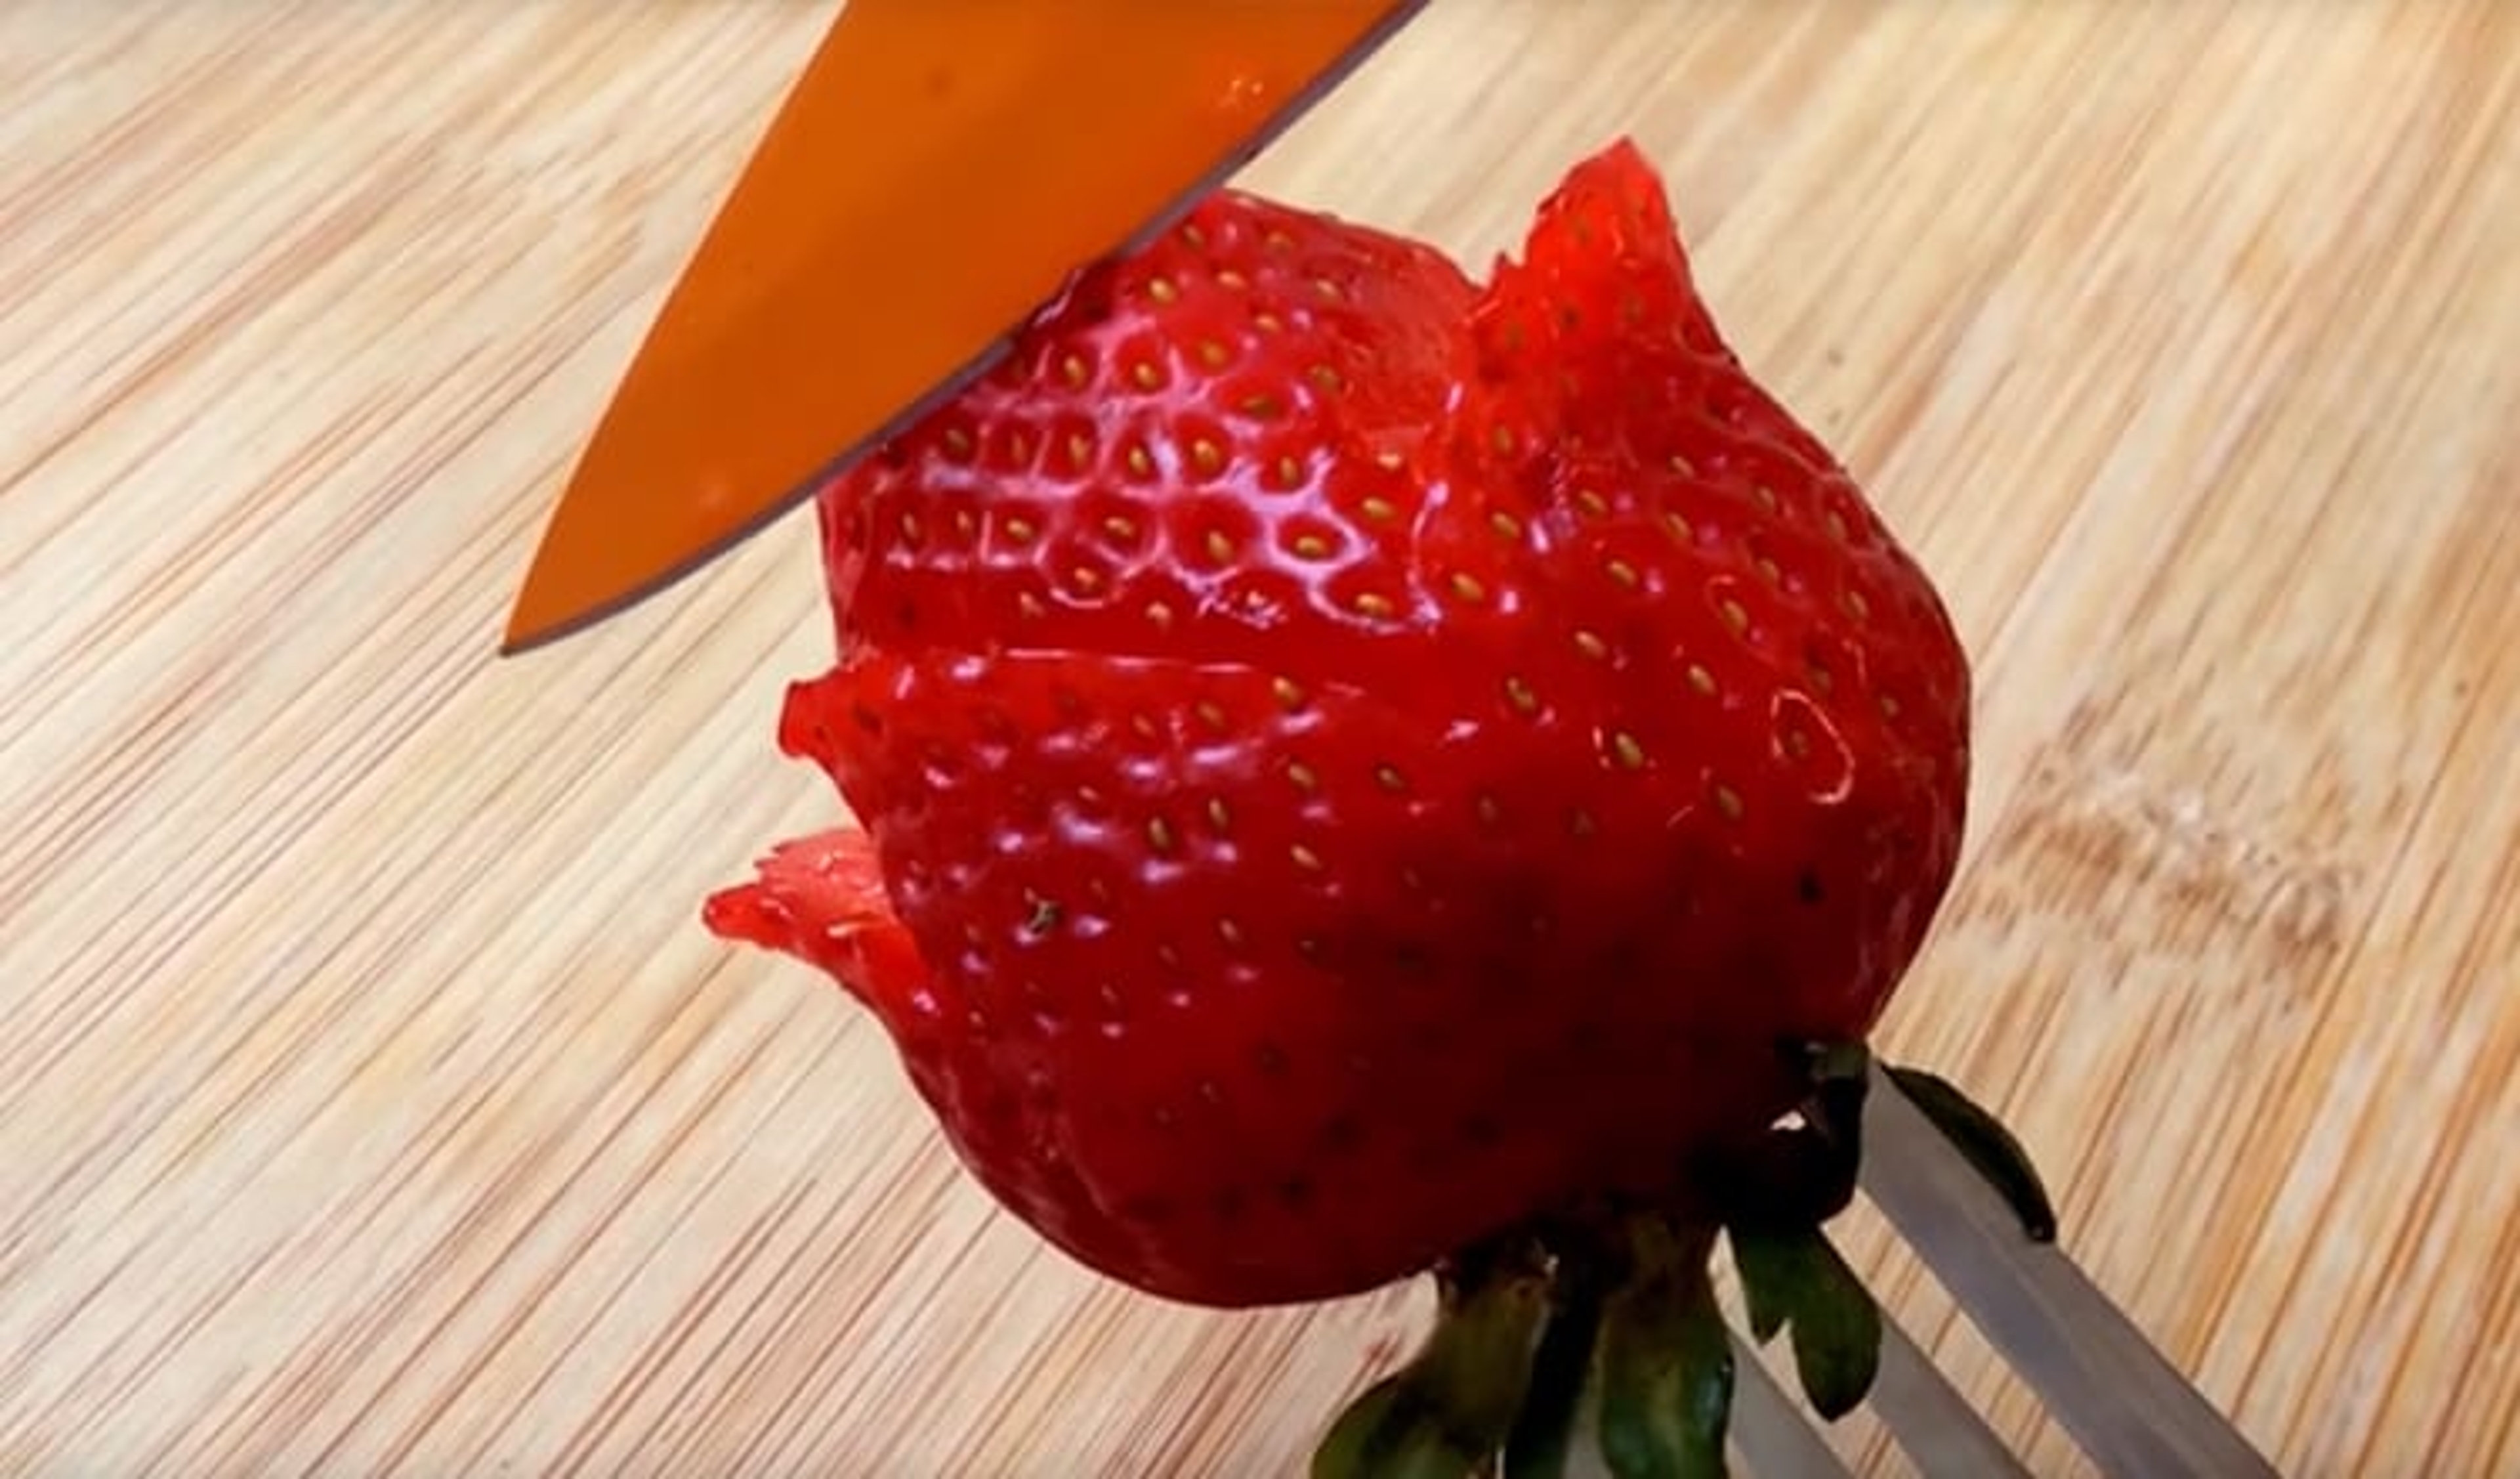
Step 2: Cut the first petal in the strawberry.
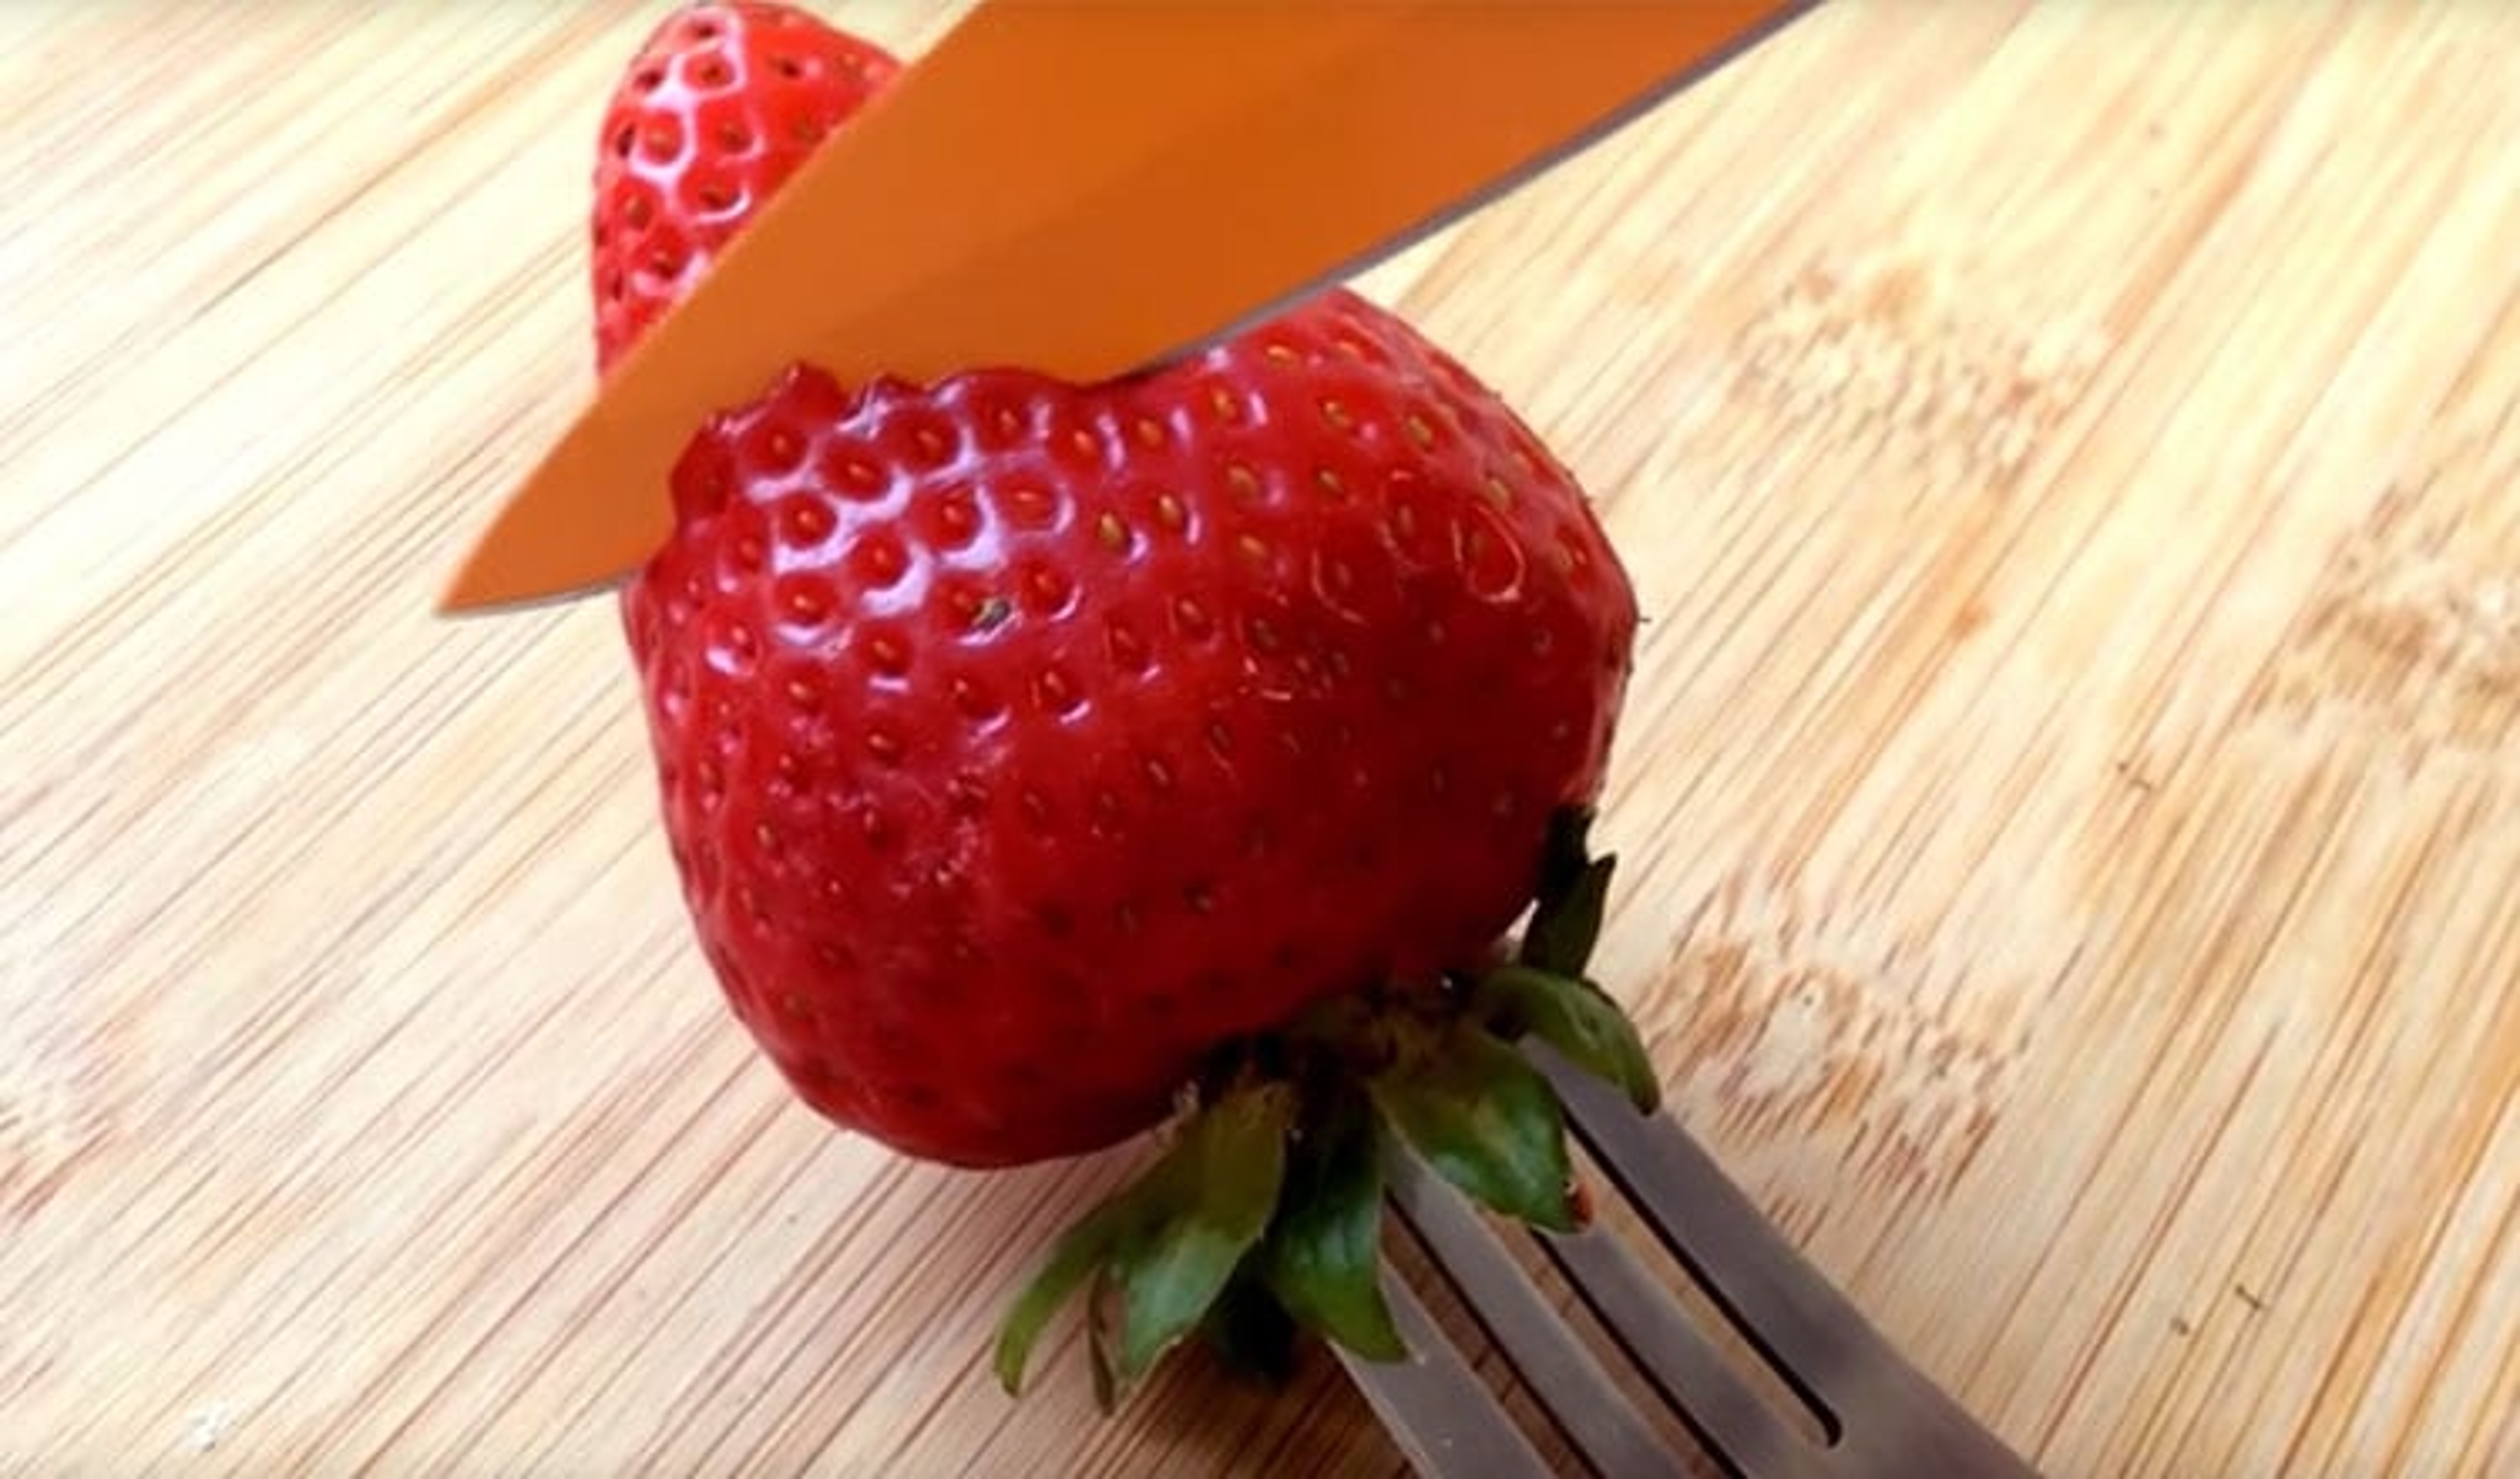
Create the first petal by slicing downward into the base of the berry. Be sure to not make the petal too big, as you’ll still need to create a few more petals on the base.
Step 3: Fan the petal outward with the knife.
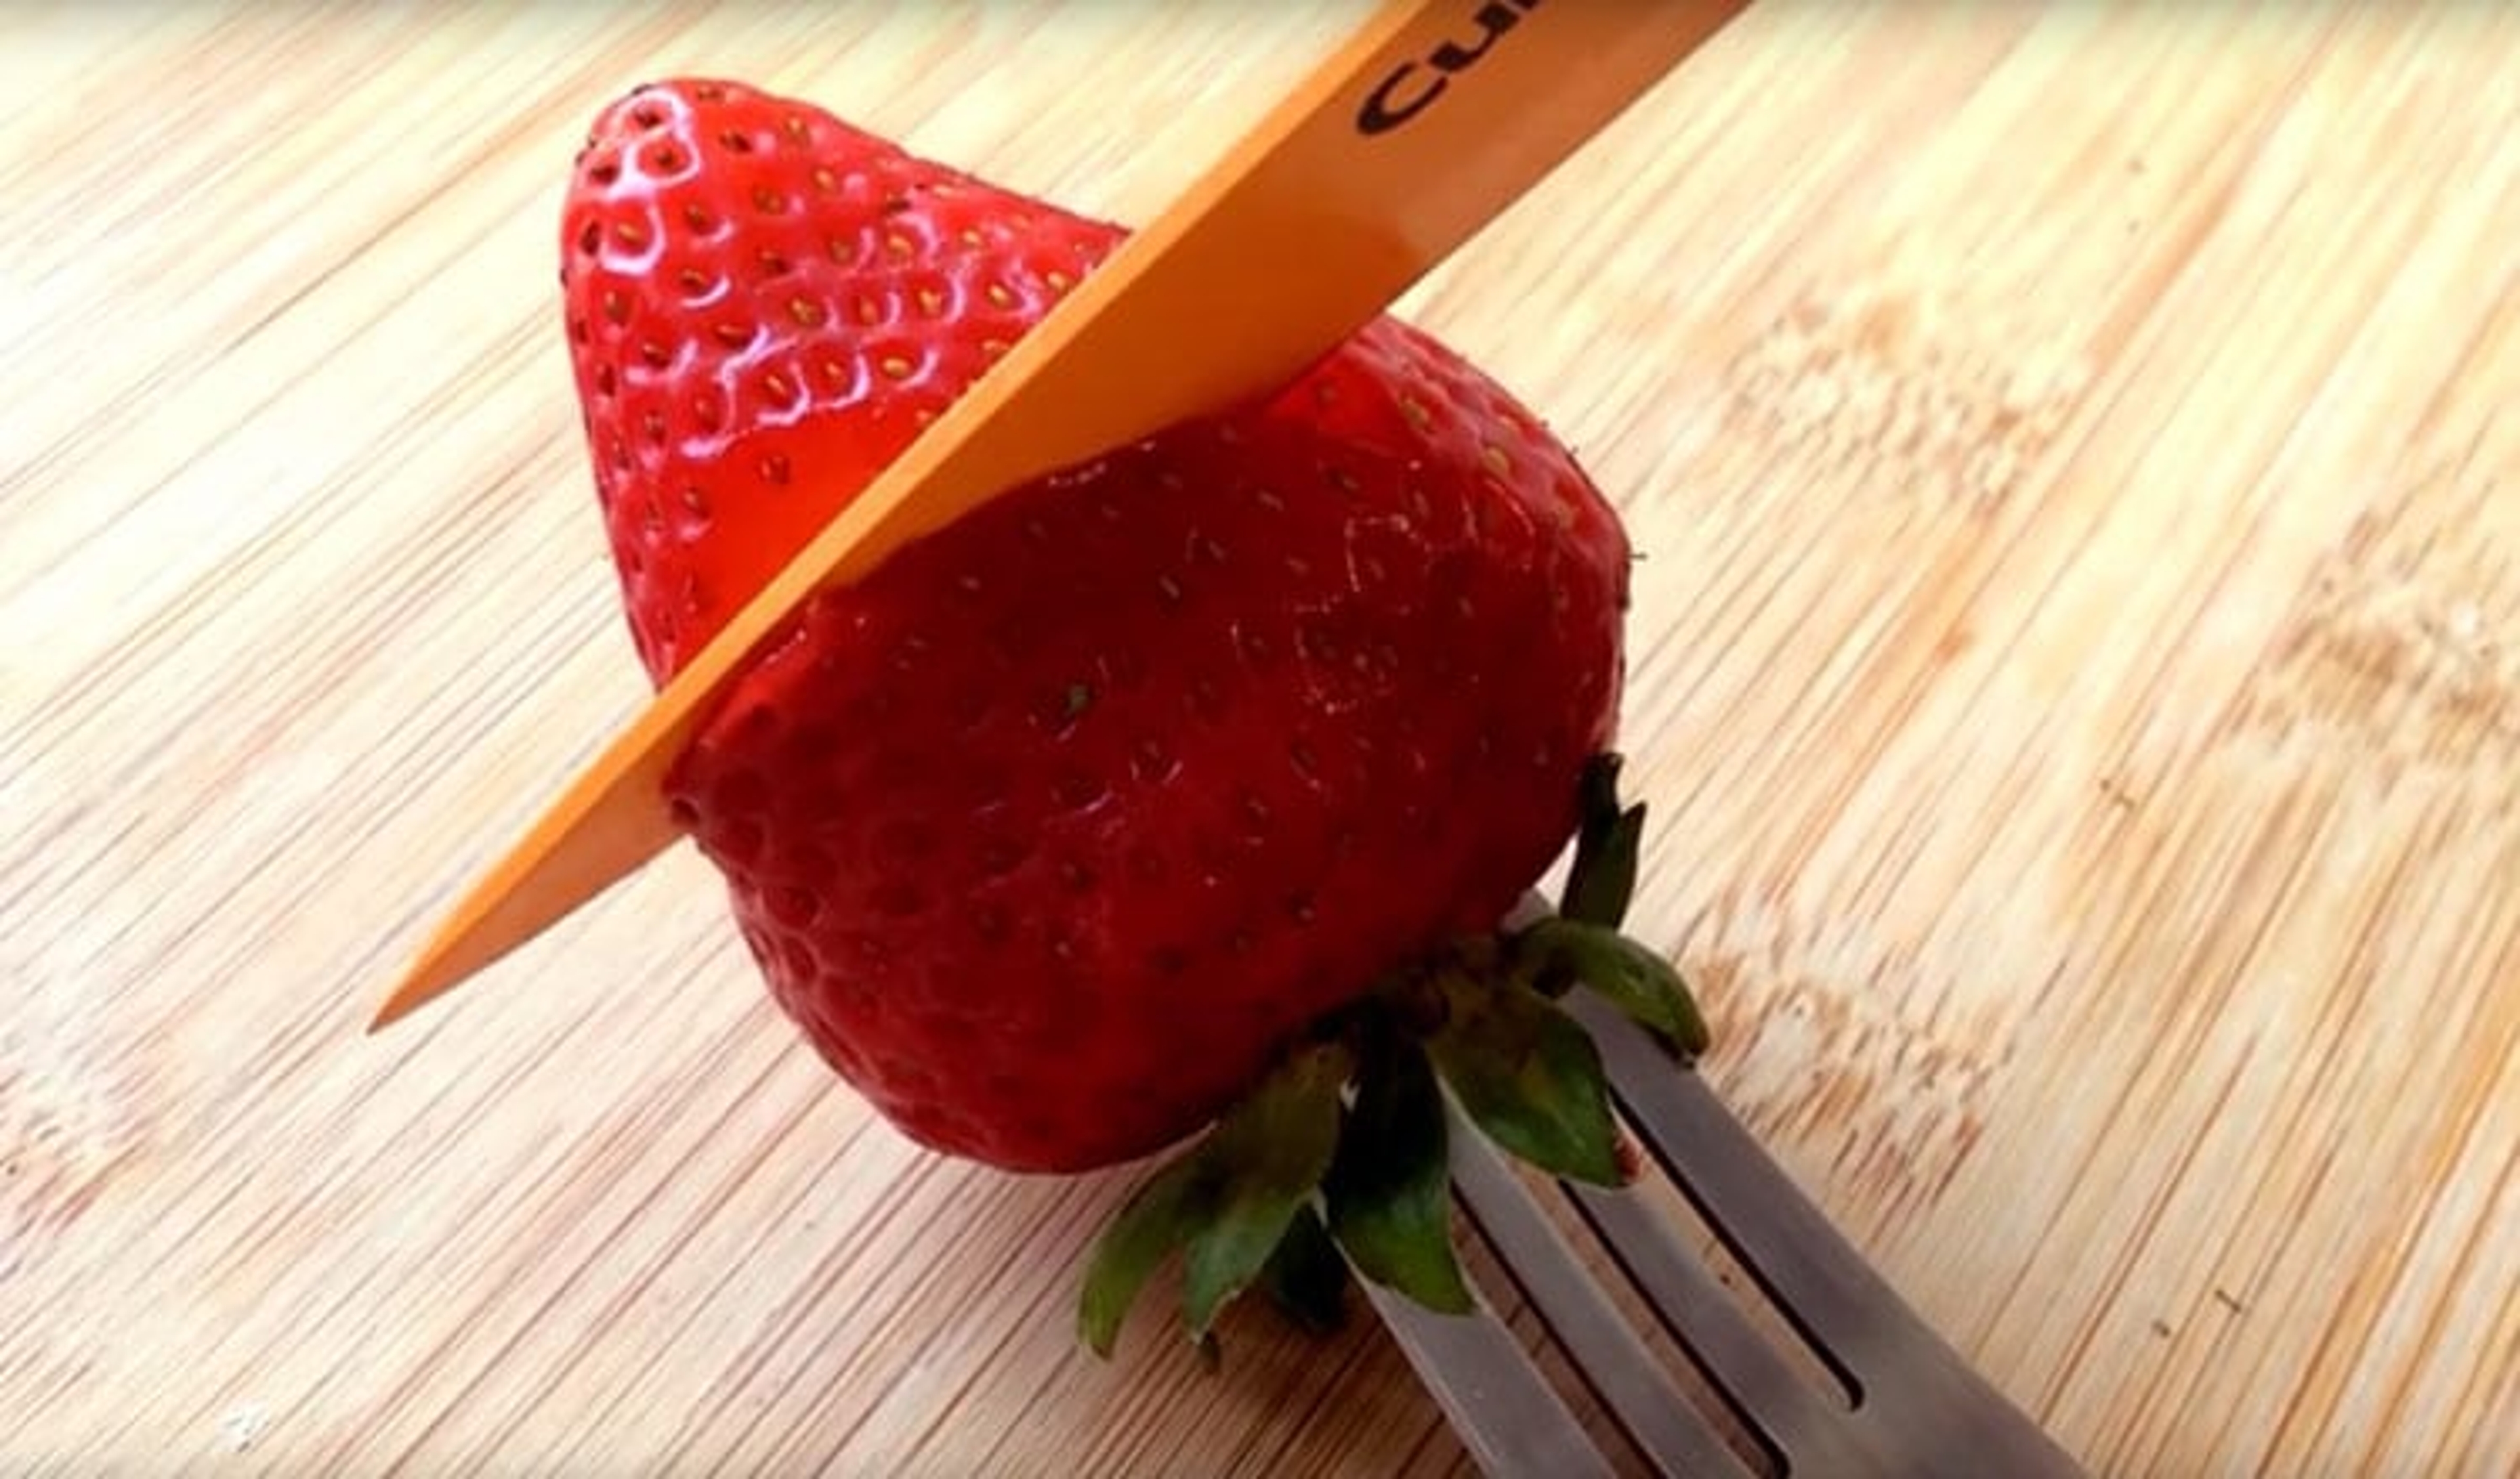
With the knife still in the strawberry, lightly twist the blade sideways to fan the petal outwards. Try rolling the tip of the petal for a more accurate rose petal look.
Step 4: Repeat steps 2 & 3 as needed.
Repeat steps two and three around the base of the strawberry. You are aiming for four petals in the base but don’t worry if you have more or less, every rose is unique!
Step 5: Cut a second row of petals.
Use the same techniques to cut a second tier of petals in the strawberry. Alternate spacing between your bottom row.
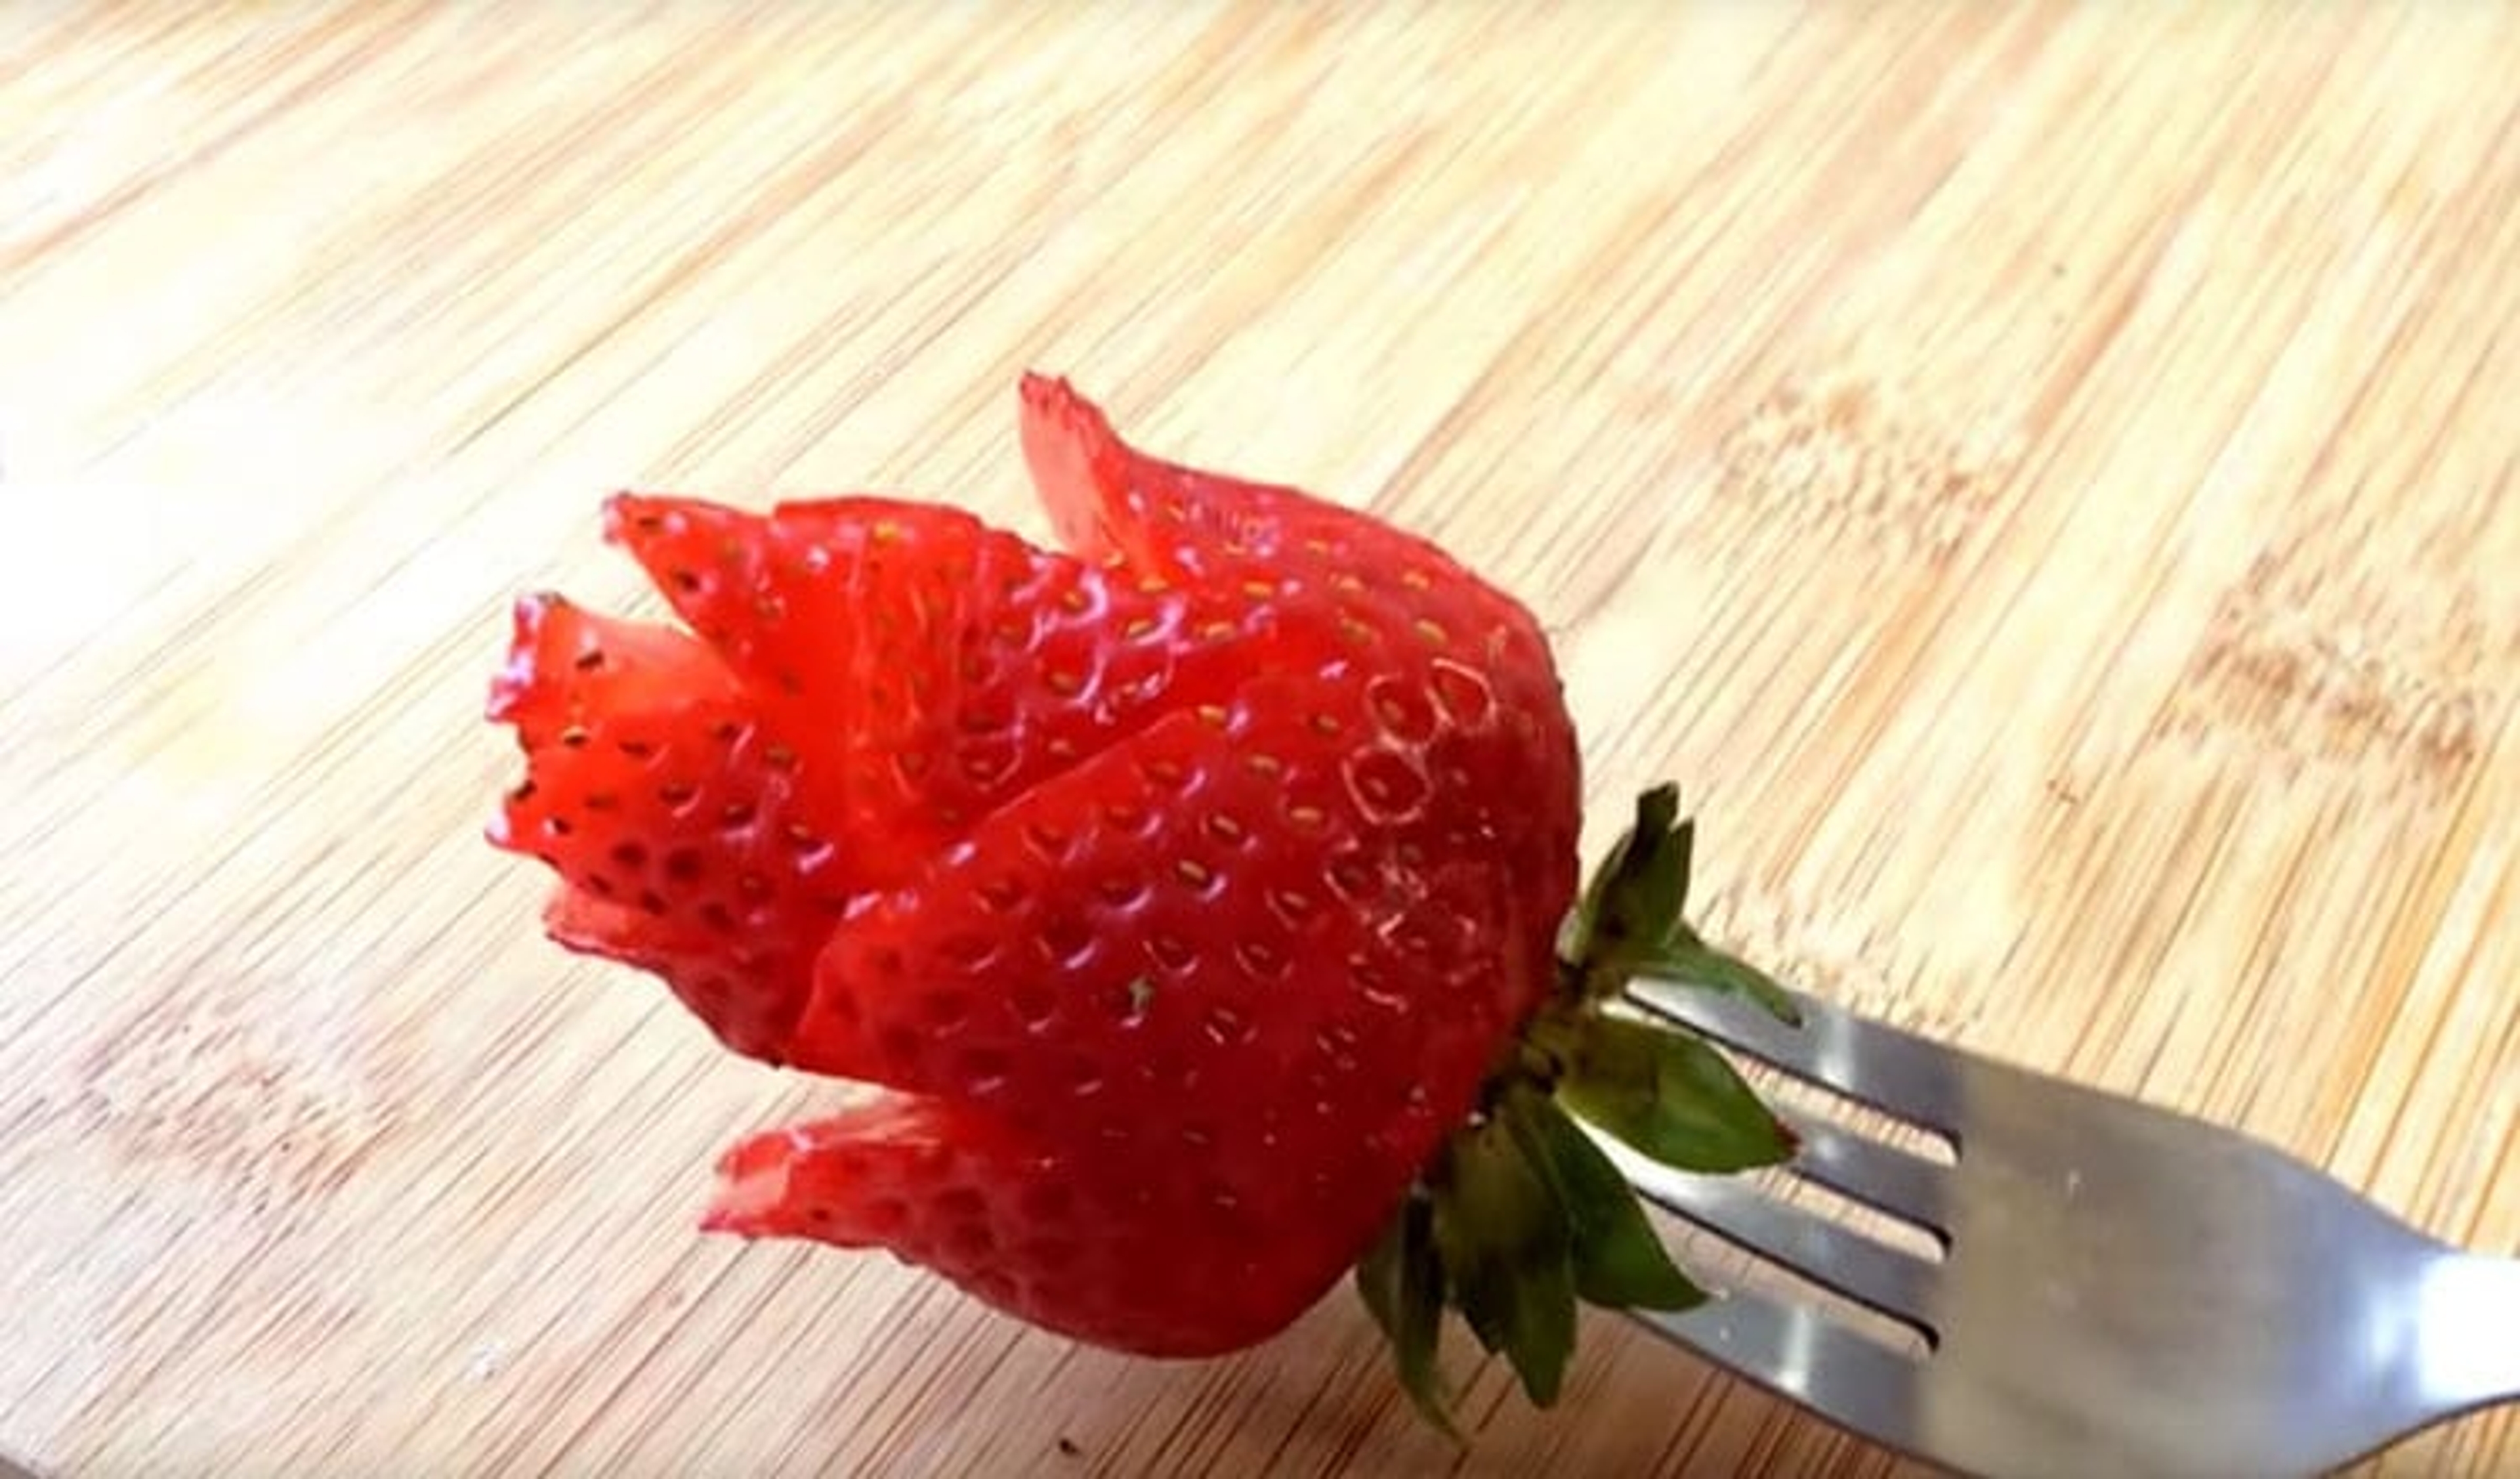
Step 6: Add a finishing slice to the top of the strawberry.

Lastly, complete your strawberry rose by adding a slice straight downward into the top of the berry. This should be a shallow cut, just enough to create the look of small petals on the tip. And voila, you have made a strawberry rose!
Strawberry roses make a fantastic gift for a loved one. Consider making these for next Valentine’s Day to give to your significant other or your friends. They are also a perfect Mother’s Day gift that is sure to let her know you appreciate all she’s done for you. And if you’re looking for more gift ideas, look no further than dipped strawberries!


