DIY: Mimosa Bar Styling Ideas and Recipes
Mimosa Essentials
To make the perfect mimosa bar, you’ll need to learn the basic ingredients and the proper way to make a mimosa. We suggest using freshly squeezed juice or homemade blended purees. So if you have a blender and a juicer, put them to work! It makes all the difference.
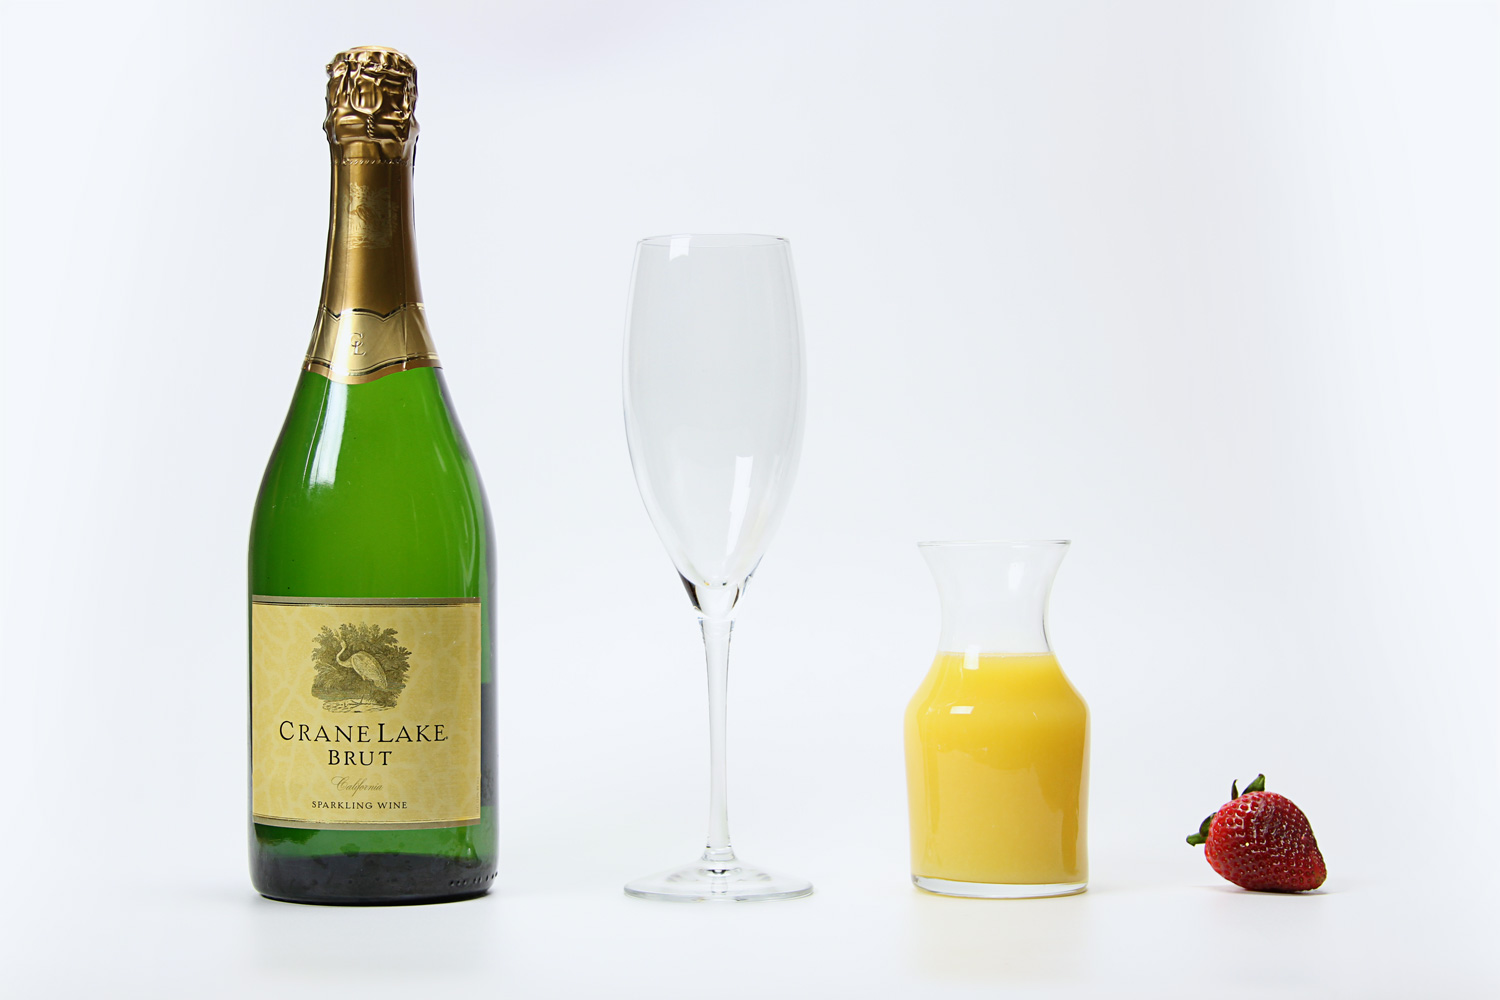
Materials needed:
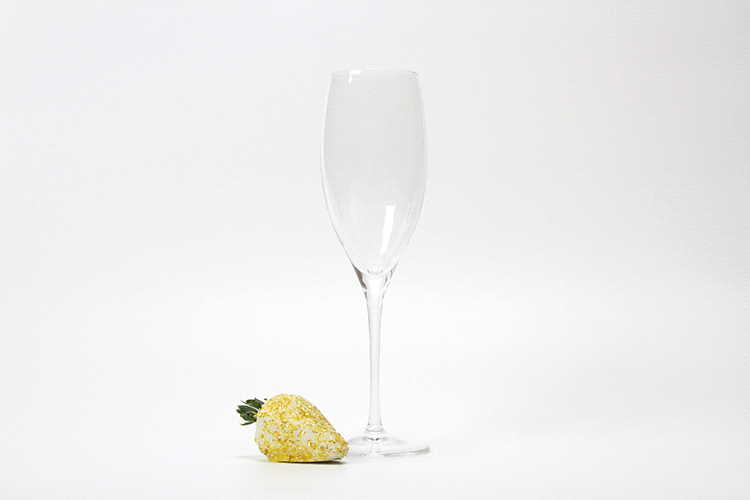
- Champagne flute
- Champagne or sparkling wine
- Juice or puree
- Garnish (fruits, flowers, herbs)
- Simple syrup or St. Germain (optional)
Mimosa Bar Portioning
Whether it’s a small or large party, you’ll always want variety. Having only one type of juice or garnish will make the party table a little less exciting. And the last thing you want is to run out of champagne! Also, don’t forget about non-drinkers. Make sure you have a refreshing mocktail or sparkling cider for them as well.
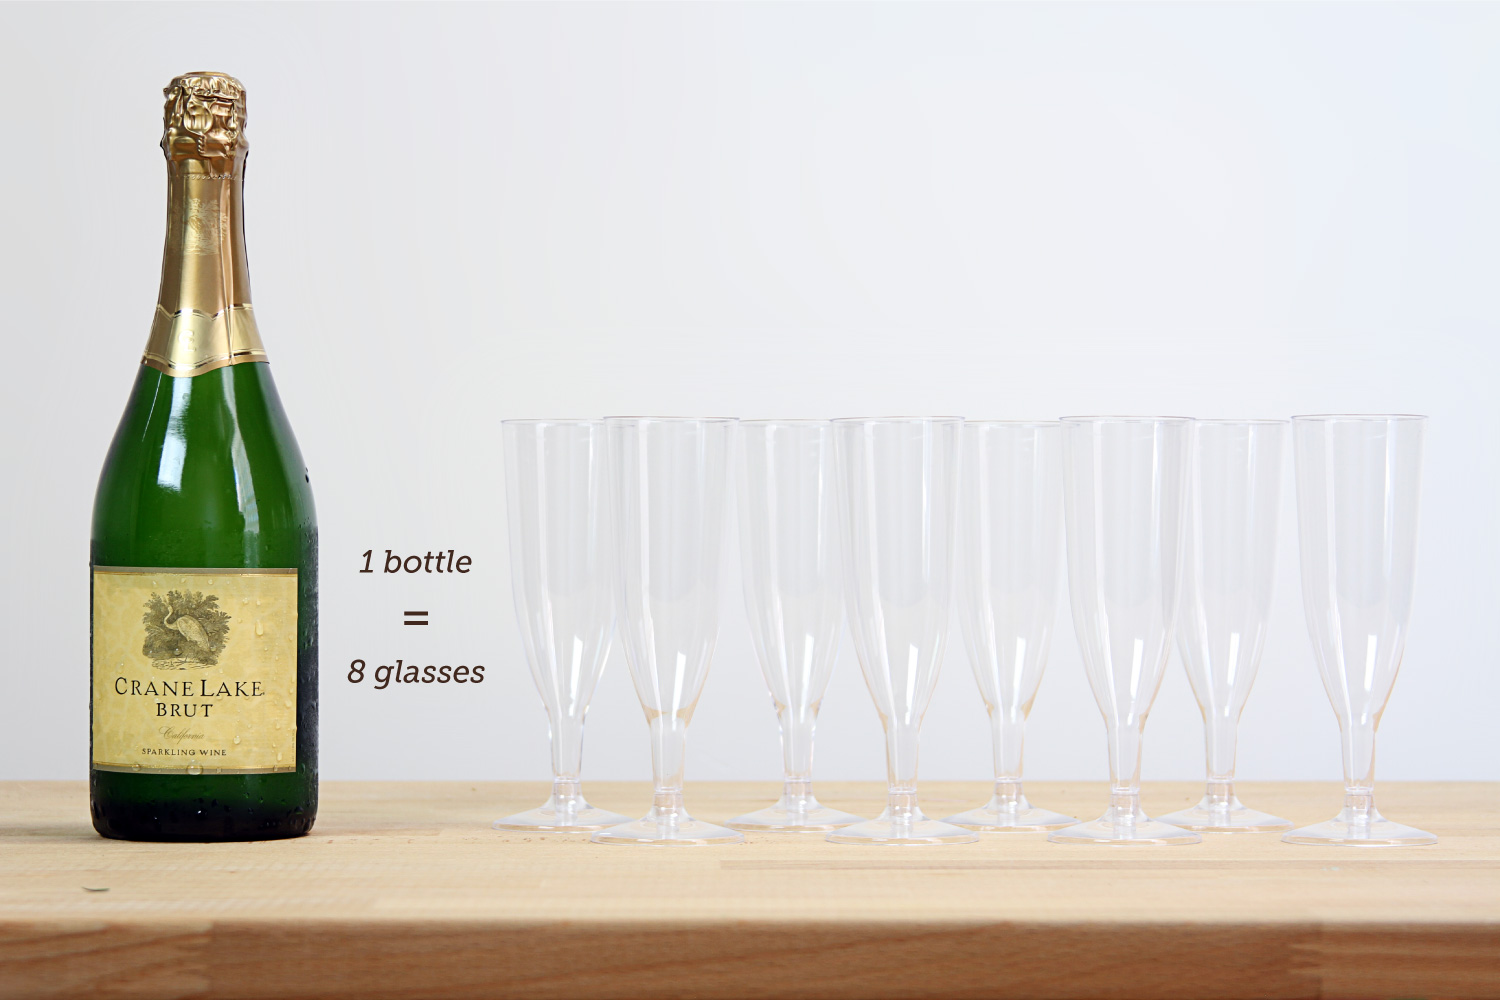
A bottle of champagne makes approximately 8-10 mimosas (depending on how boozy your guests want to get). The ratio per mimosa is usually equal part champagne to equal part juice.
Juices, Purees, Garnishes and Decor
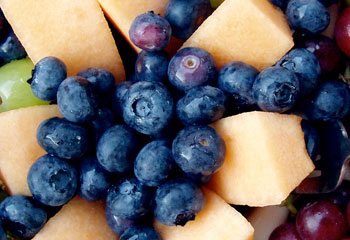
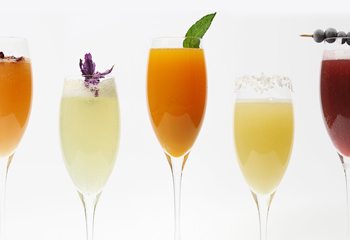
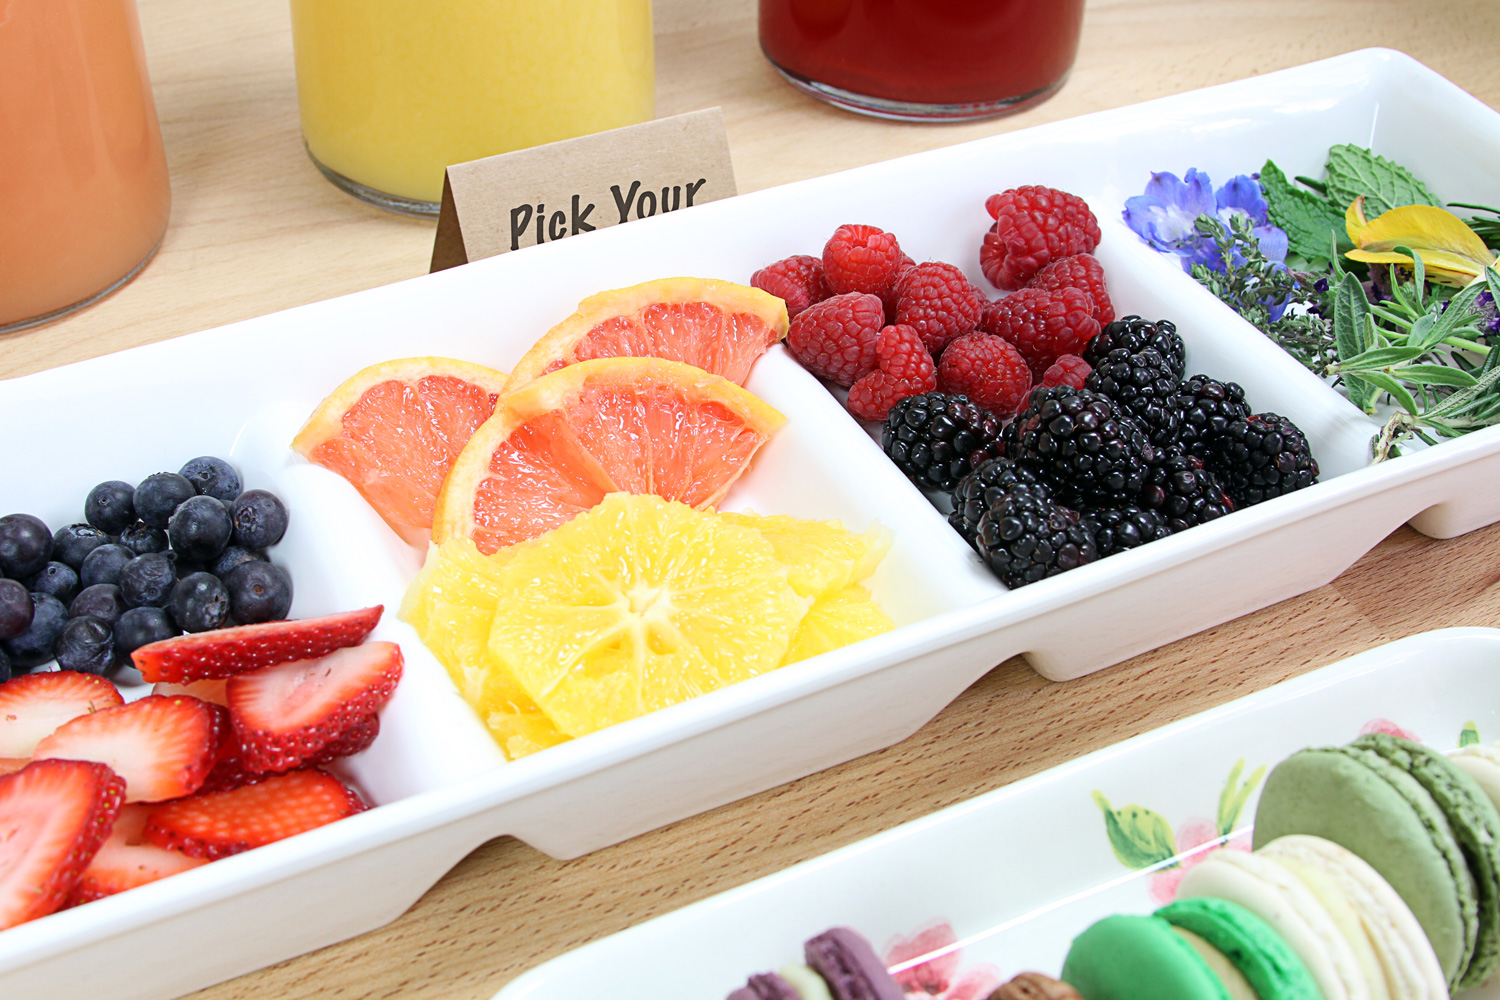
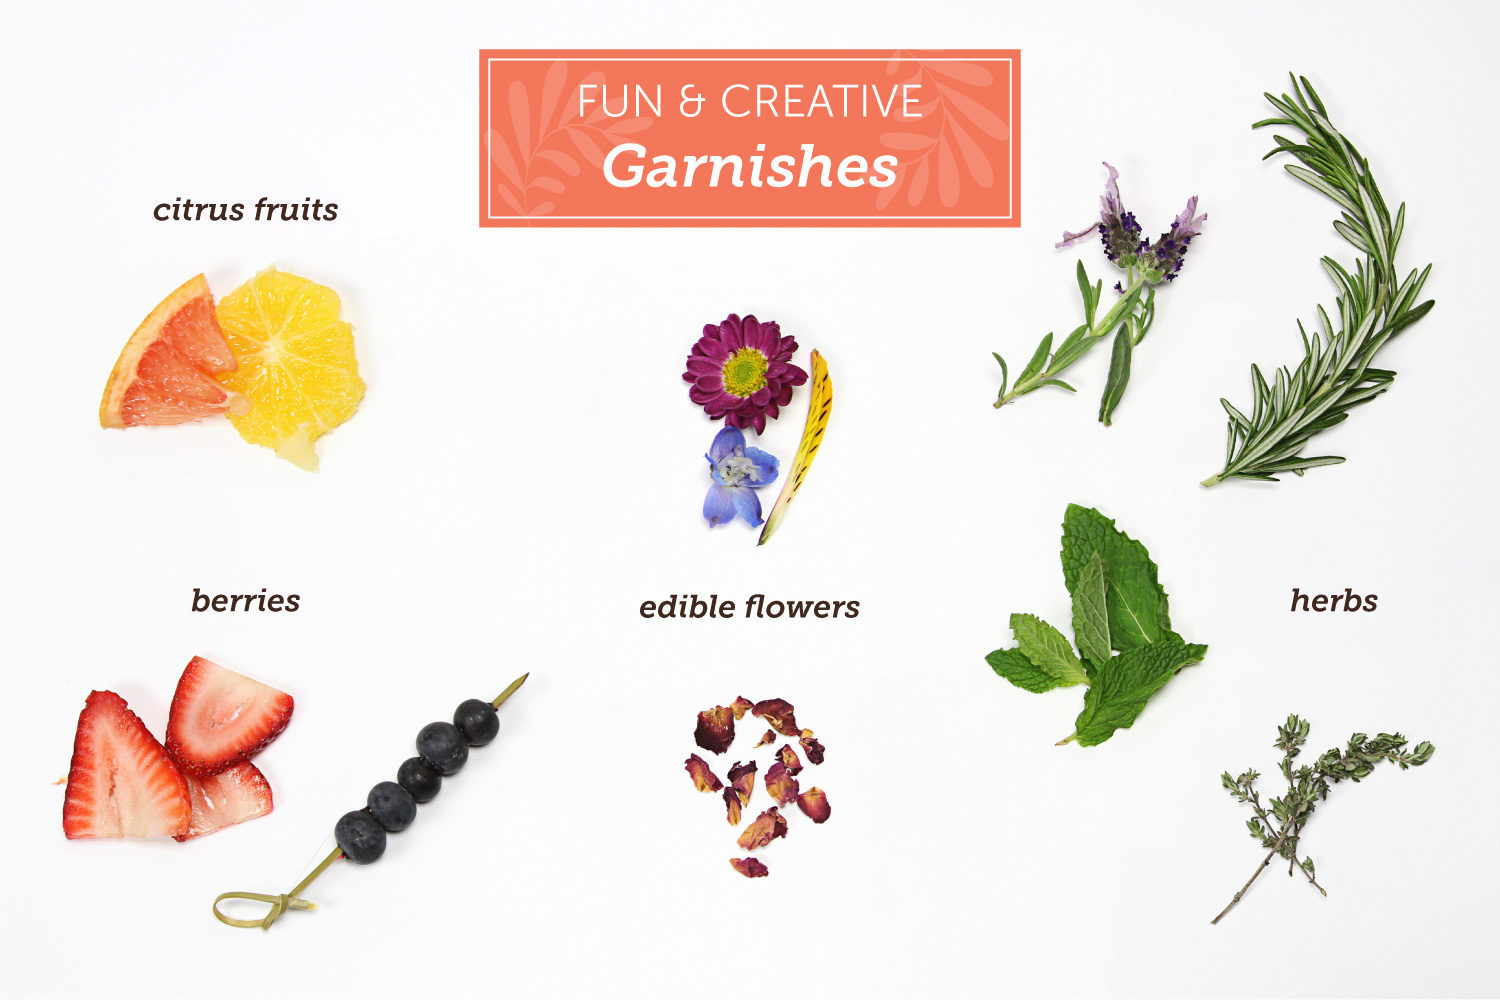
It’s best to have 3 different kinds of juices for mimosas or a couple of purees to give your guests a good variety. Garnishes should also be fun and creative. Fruits add a lot of color to a drink, as well as consumable herbs and flowers. If you want to find out what fruits are in season, check out our chart.
If you’re not sure what pairs well with champagne, here are some fruit, juice and garnish suggestions:
Juices: orange, mixed berry, cucumber, grapefruit, lavender lemonade, passion fruit, guava, pomegranate
Purees: strawberry, pear, peach, mango, kiwi, pineapple
Garnishes: berries, citrus fruits, mint, thyme, candied ginger, rock candy sticks, consumable flowers
Decor Ideas: fresh flowers, confetti, garland, banners, DIY glitter bottles, straws, coasters, flute charms
Optional: flavored liqueur, flavored syrups, sherbets
How to Make a Mimosa
Making a mimosa is really simple. It only takes 3 steps and you’re on your way to mimosa bliss. We decided to pour the juice first and top with champagne but pouring the champagne first works too. It’s all a matter of preference.
Step 1: Pour juice or puree
Step 2: Add champagne
Step 3: Top with garnish
Step 4: Do not stir!
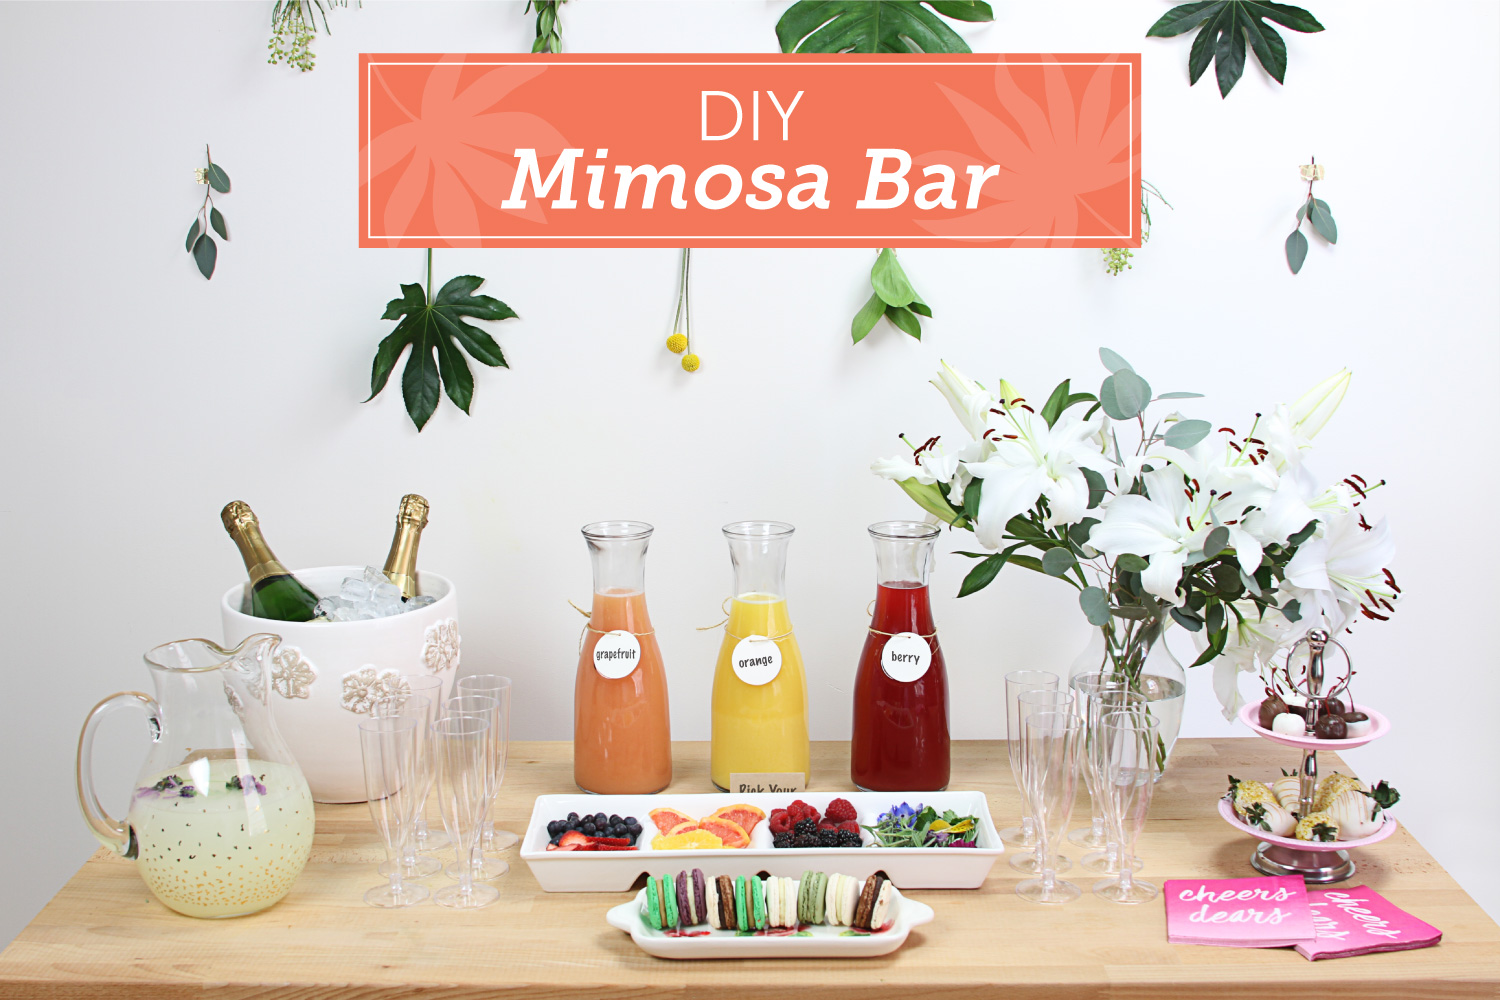
How to Set up a Mimosa Bar
Now that you’ve learned what’s needed for a delicious mimosa, it is time to set up your mimosa bar. A clear canvas makes it easy to get fun and creative. There are a few simple rules that will make all the difference when preparing for your guests. We’ve gathered a few mimosa bar ideas.
Step 1: Make sure items are accessible
When setting up a mimosa bar, make it easy for your guests to assemble by creating enough space in between items so nothing is too tall or cluttered. It’s best to have glasses on both sides of the table since there will be several guests preparing their drinks at the same time.

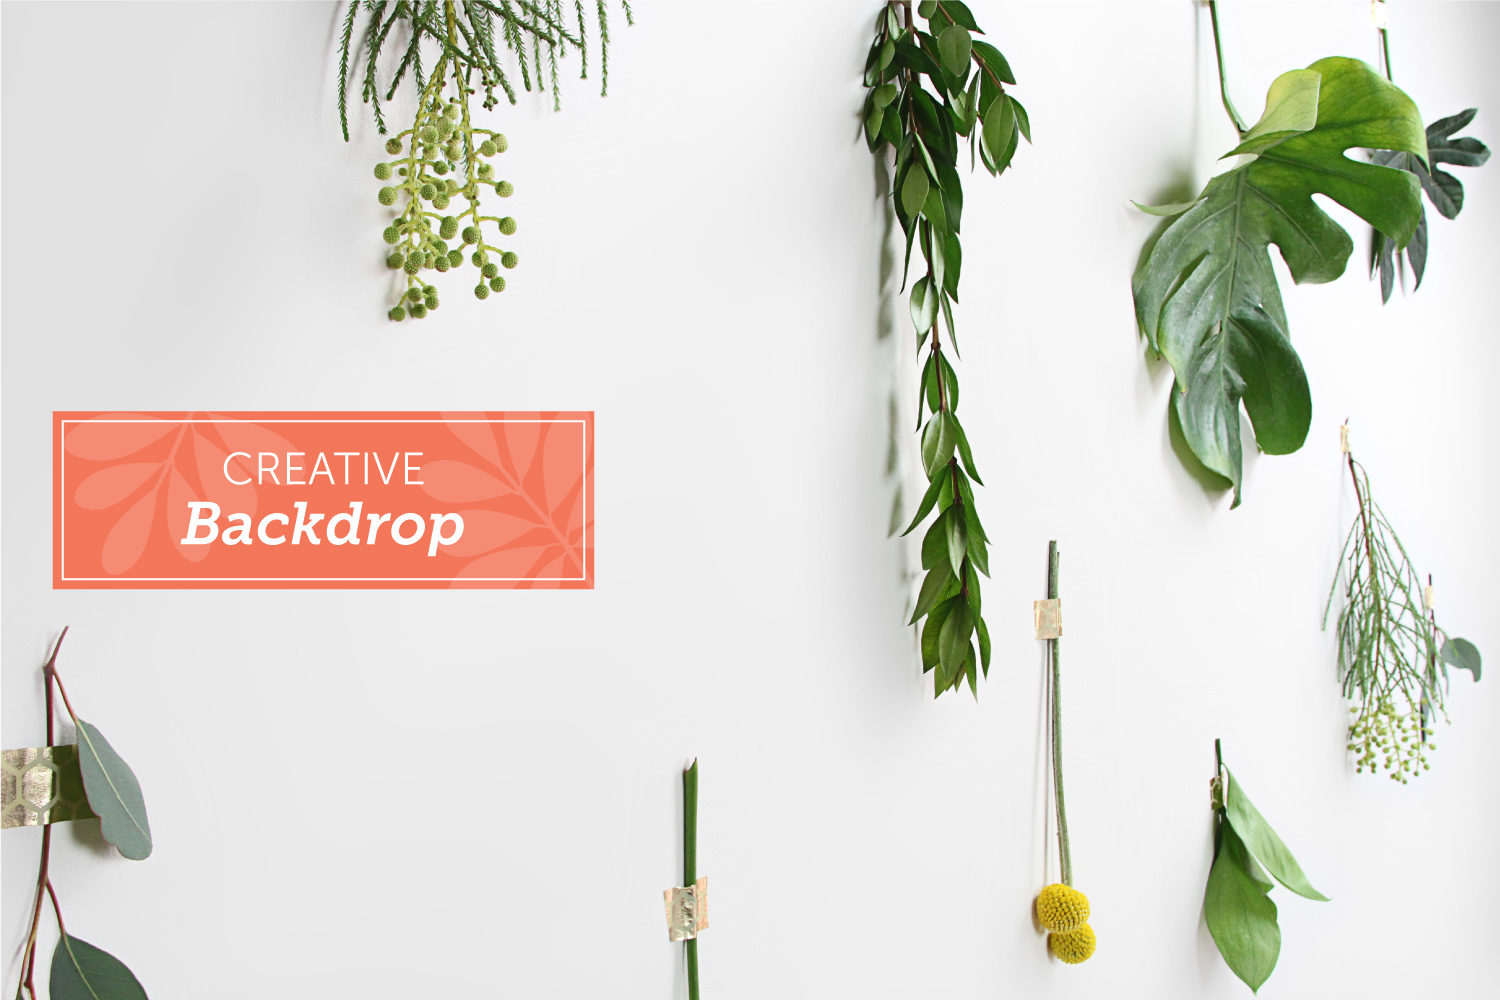
Step 2: Add a nice backdrop
Depending on the theme, you’ll want to add a fun, creative backdrop. Flowers, pom poms and even a banner can make all the difference. We made ours with beautiful green leaves and washi tape.
Step 3: Include mocktails
Make sure to include your non-drinking friends. A fresh flavored lemonade or a sparkly non-alcoholic cider is always a good idea, in addition to the juices provided. Encourage them to join in the decorating fun.
Step 4: Always keep your champagne chilled
It’s always a good idea to have your champagne in a bucket. Be creative with your ice buckets depending on the theme of the party. If you don’t have one, you can always keep them in the fridge until they’re ready to be popped.
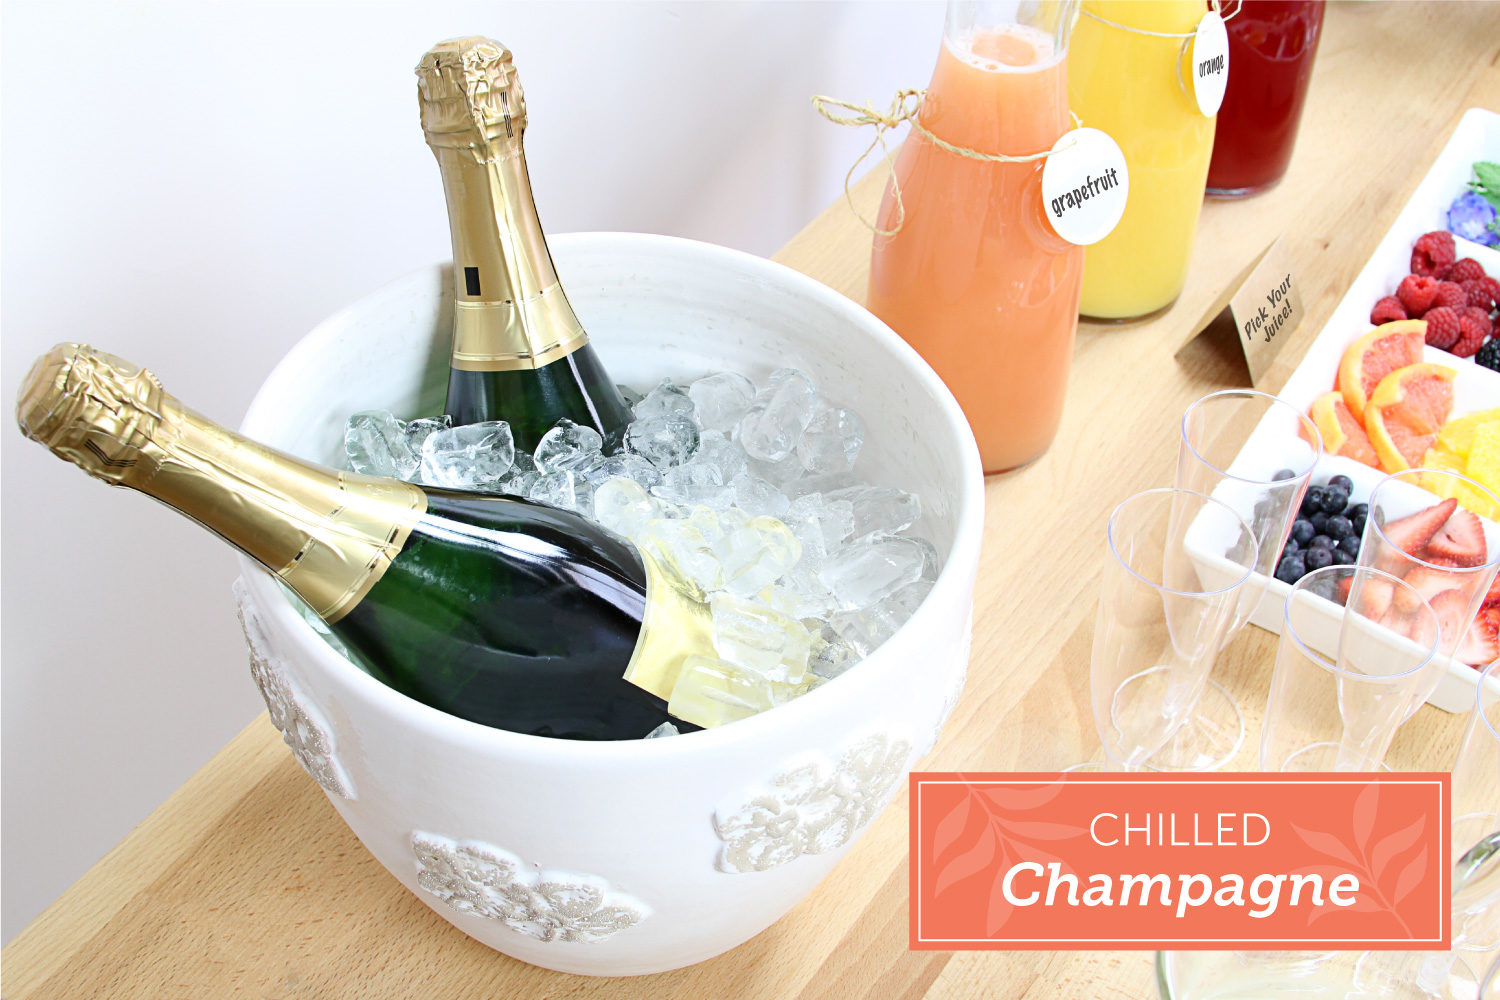
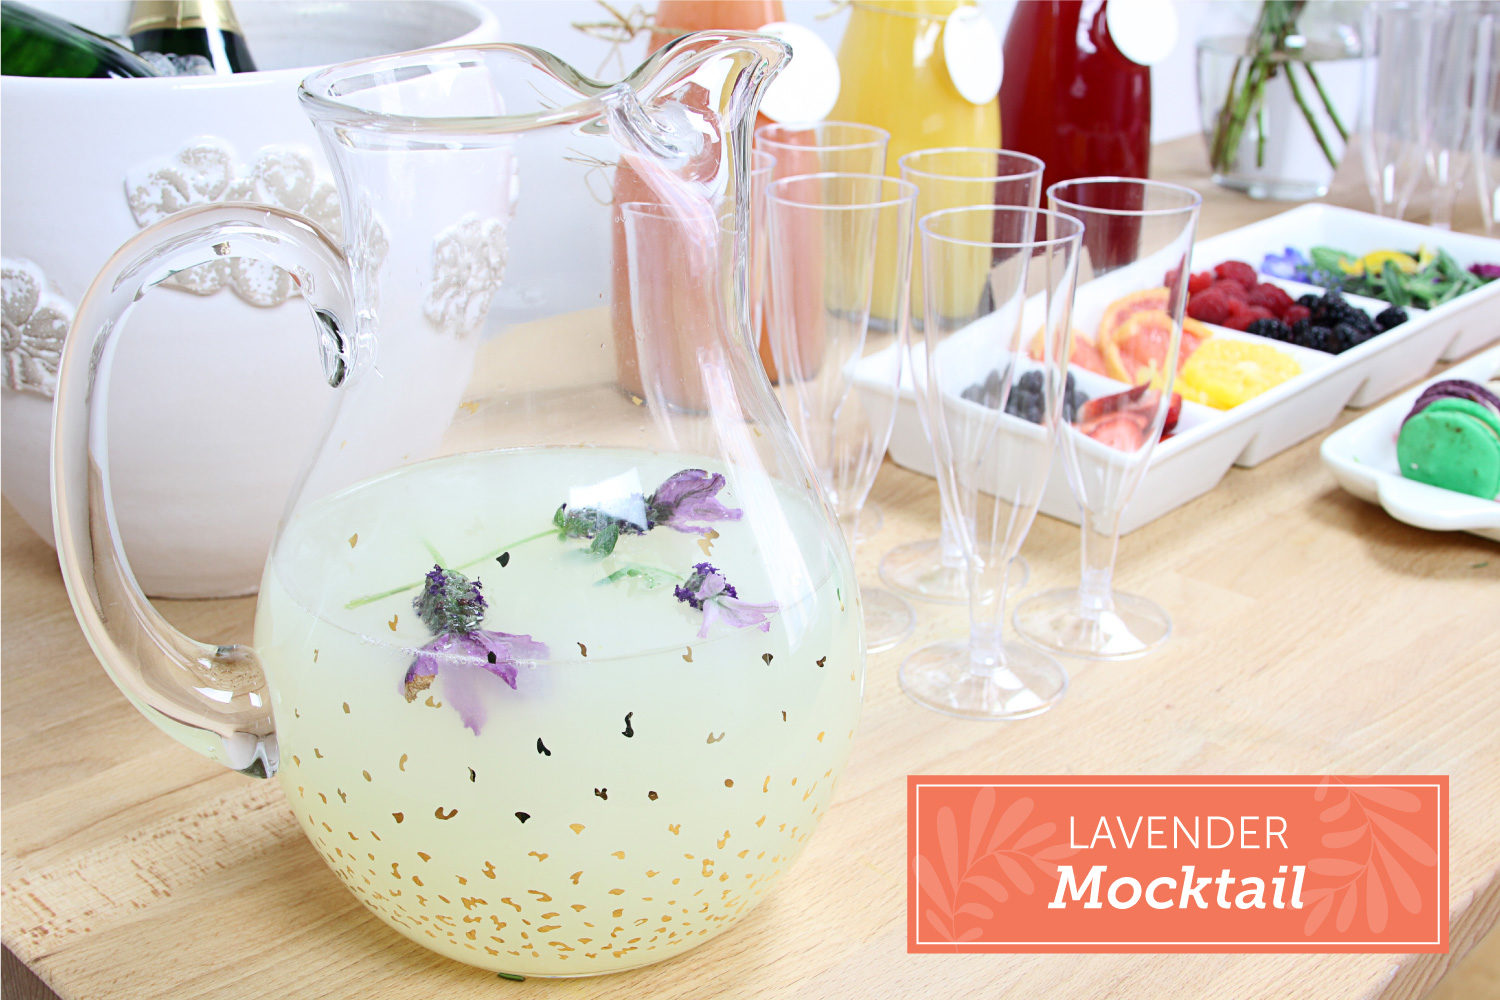
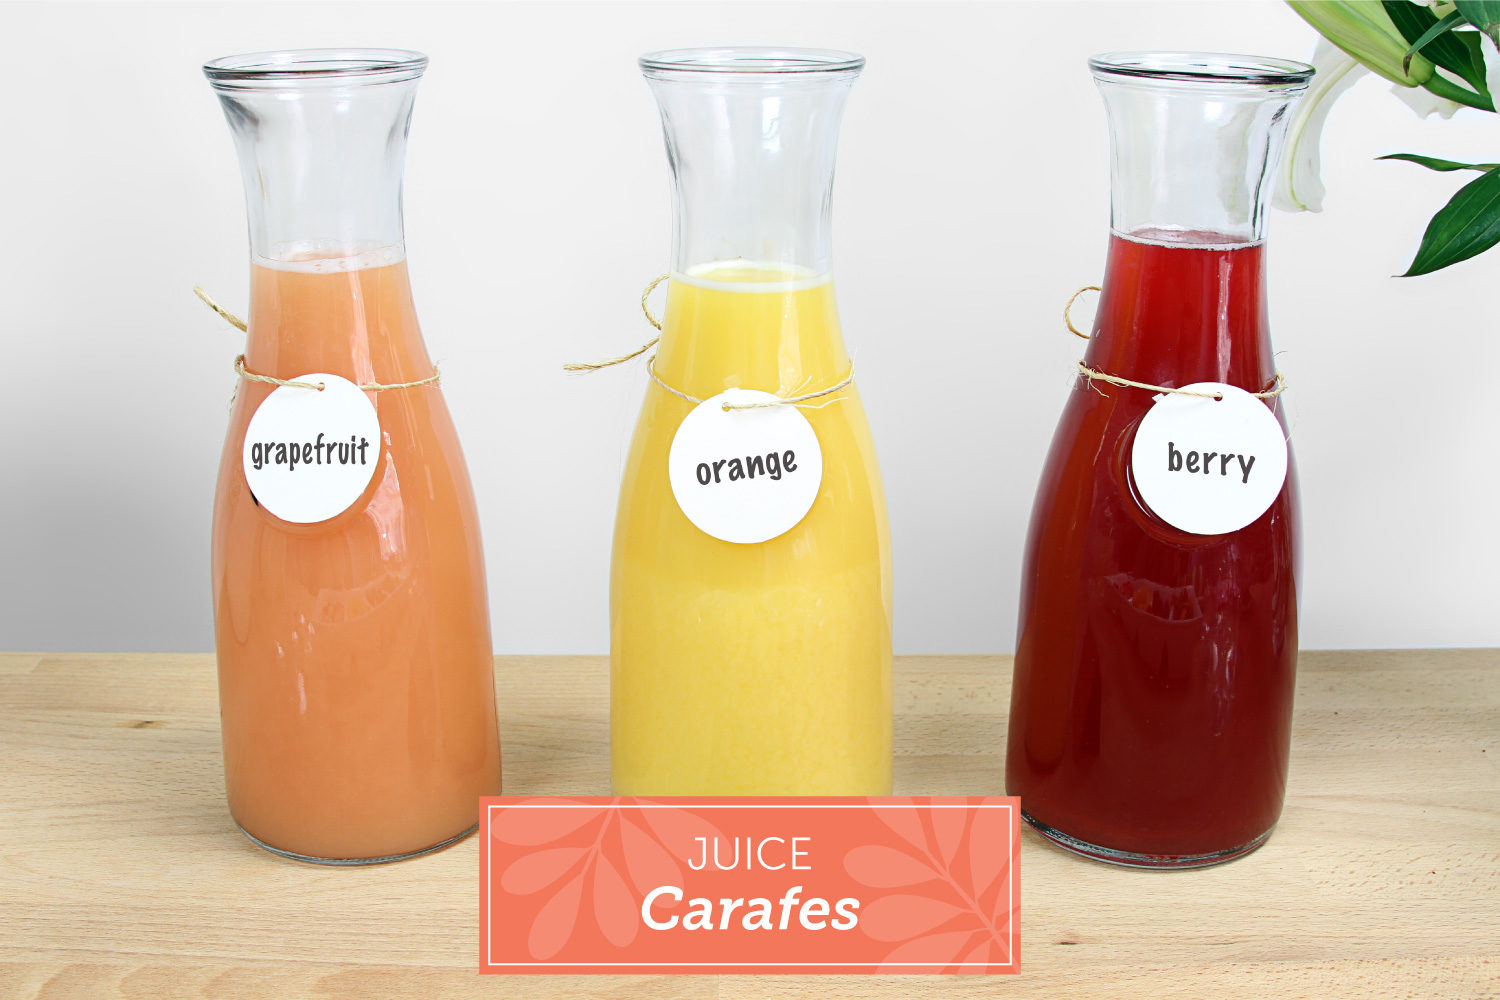
Step 5: Pour juices in carafes and label your items
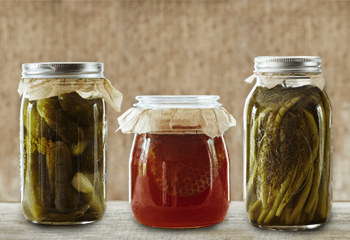
If you have a variety of fruit juices and purees pour them in clear jars or carafes and label them. Not only does this make the presentation more colorful, but it’s also more inviting. All garnishes and fruits should be placed on serving dishes. A cute handwritten label should do the trick, it adds a personal touch.
Step 6: Slice some fruit to fit on the rim of the glass
When giving your guest options, make sure you add some fruit that will fit on the rim of the glass. A small slit on the bottom of each fruit does the trick. It allows the fruit to perfectly fall into place.

Step 7: Have fun and get creative
Decorating and garnishing your drink is the best part of making a mimosa, so get fun with your creations. Citrus flavors, scented herbs and berries all give champagne an extra kick. Just make sure you use consumable flowers. You can find them at a local farmer’s market or an organic supermarket.
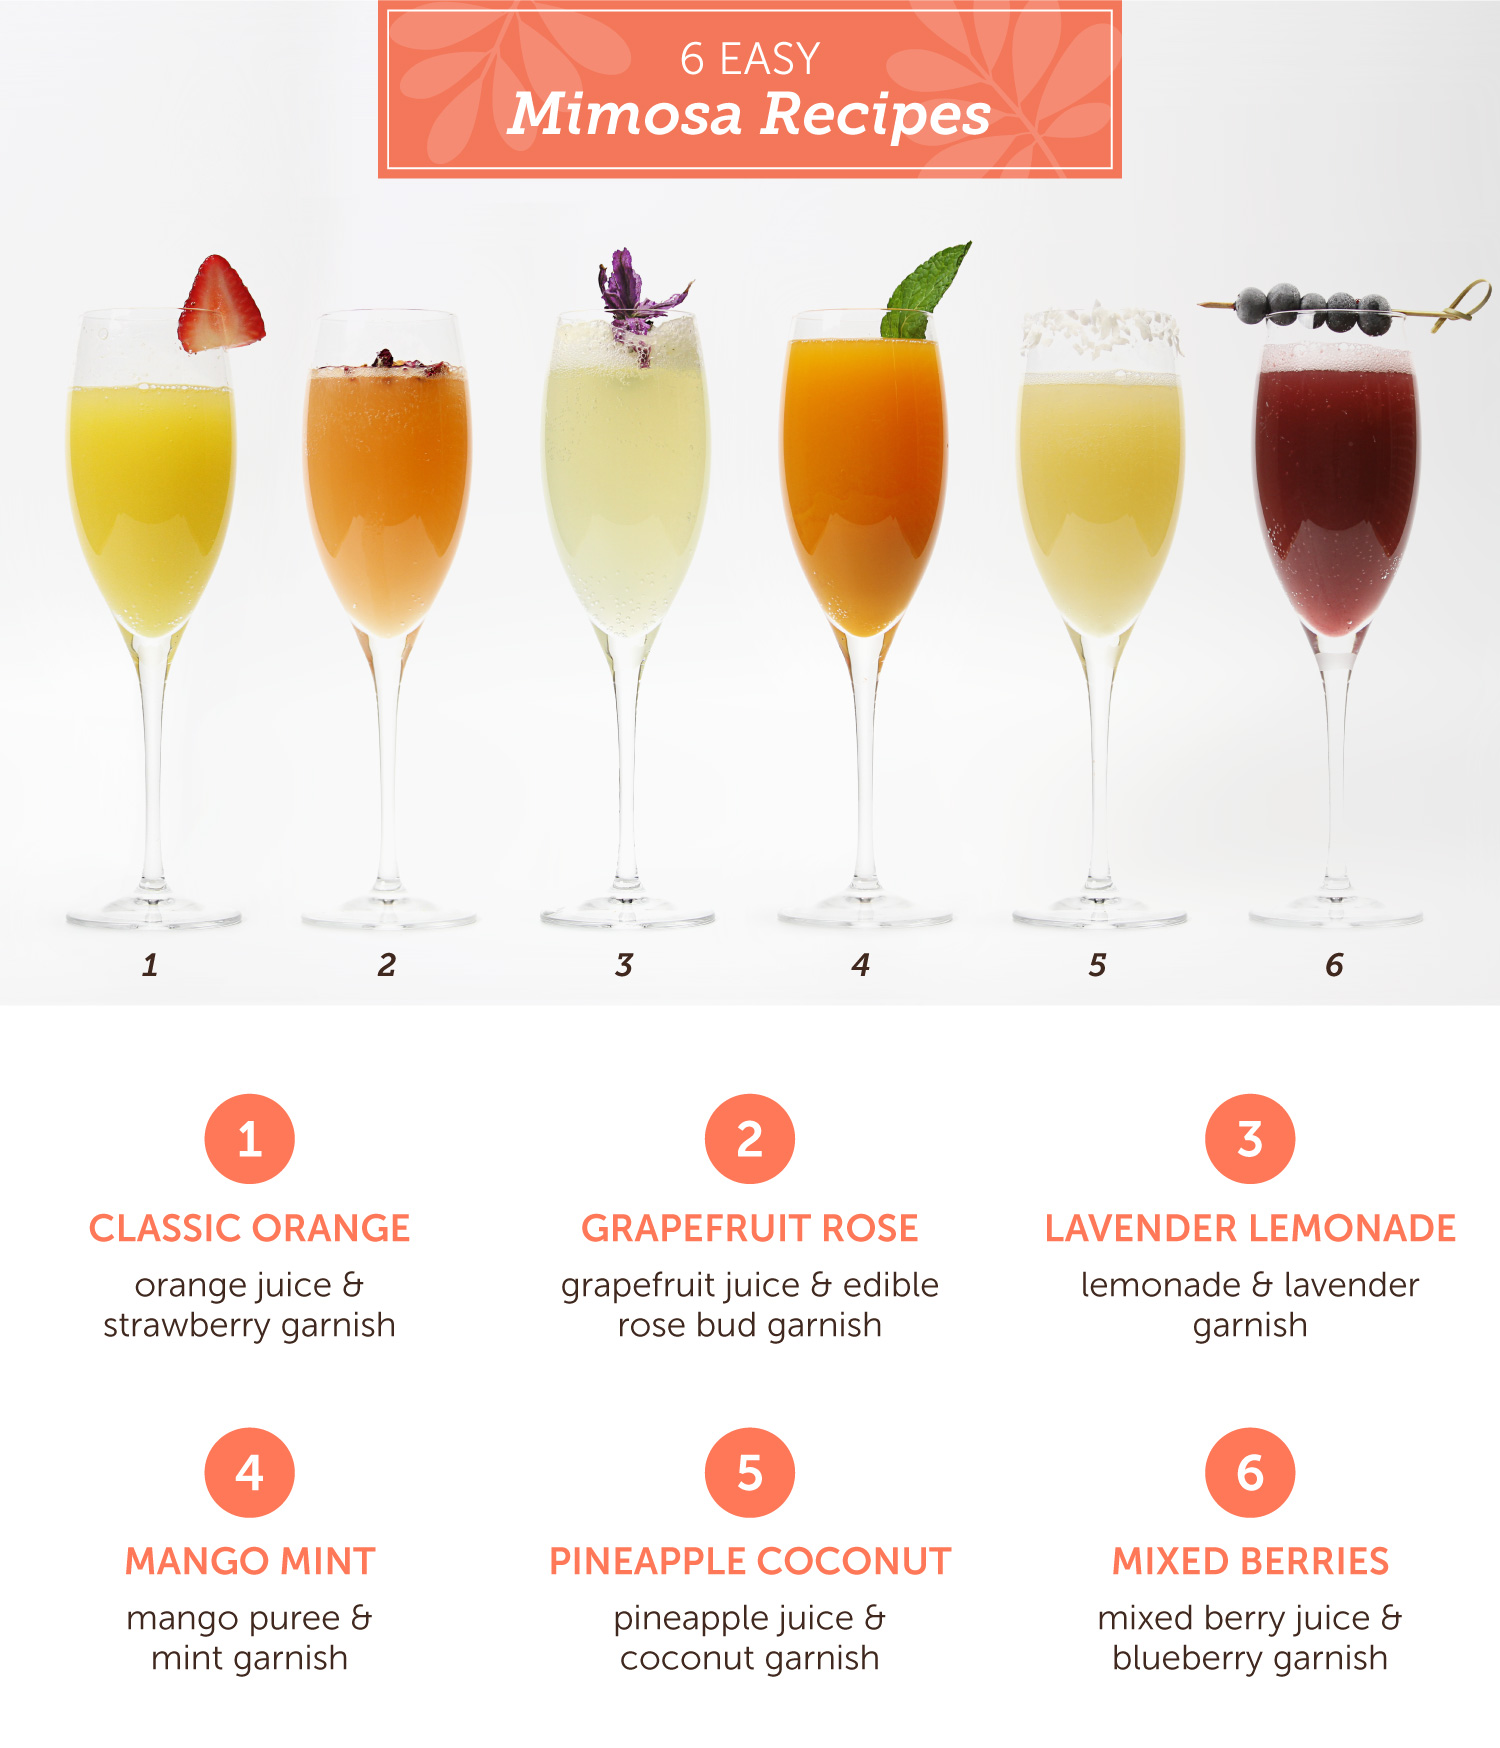
Mimosa Recipes
There are quick and easy recipes to take your classic mimosa up a notch. There are mimosas to satisfy any craving. We’ve mixed some purees, fruit juices and even added some decoration to the flute rims.
As you can see there are many fun ways to set up a mimosa bar, and the best part of all is that you can prepare all the items in advance. Your guests will appreciate the thoughtful gesture and the time it took you to prepare an amazing meal.
A Champagne Berry Toast For All
If you really want to make your girls extra excited for Sunday brunch, toast them with mimosas and our sparkly sugar-shimmered champagne berries. Sweet and festive—they’re the perfect champagne treats!